
User guide


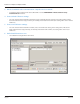


Table Of Contents
- Introduction
- Overview of ReadCenter Analytics and Analytics Mobile
- Program Startup
- Main Screen
- System Outline
- Fixed and Mobile Reading Cycles
- Save/Clear Reads
- Read Input File
- Apply Gateway Readings to the Customer Account Records
- Load Collectors
- Unload Collectors
- Route Reading Reports / Run Reports
- Write Output File
- Gateway Reading Reports
- Custom Reports
- Analytics
- Accounts and System Settings
- System Requirements
- Software Function Detailed Description
- Codes
- Using the Tool Bars
- Radix Handheld File Transfer
- ReadAll Handheld File Transfer
- Mini Mobile Interrogator (MMI) File Transfer
- Backup Operation
- Troubleshooting
- Technical Support
Batch Processing
ReadCenter Analytics
Route Reading> Batch Processing
ReadCenter Analytics Mobile
Accounts> Batch Processing
Mobile Only: This section is intended for customers with a mobile network. Customers using ReadCenter Analytics
exclusively for a fixed network may skip this section.
With Batch Processing you can load and unload collection devices automatically, one after the other rather than individually.
Before running this function, here are the steps that must be done in preparation.
1. Set up folders for each collection device to hold load and unload files.
2. USB memory device communication: assign permanent drive letters for the USB memory devices.
3. Wireless handheld reader communication: setup the wireless network.
4. Create Load Collector settings.
5. Create Unload Collector settings.
6. Define batch functions to run.
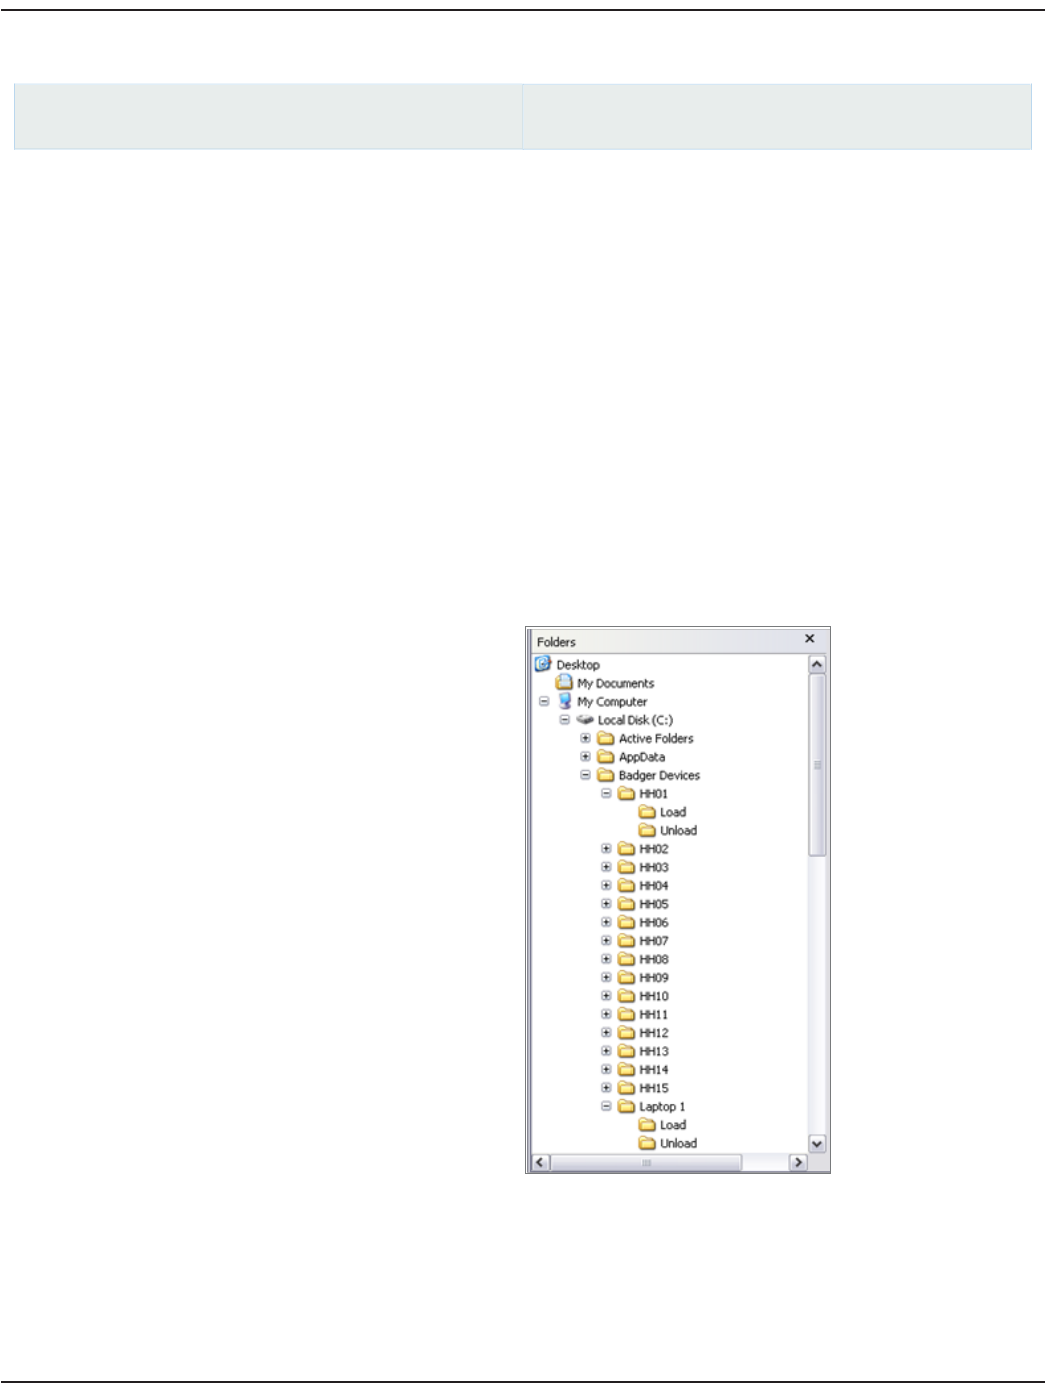
1. Set up folders for each collection device to hold load and unload files.
• Using Windows® Explorer, create a folder for each
collection device.
• Under each device folder, create two more folders,
one called “Load” and one called “Unload.”
This example shows 15 handhelds and one laptop.
2. USB memory device communication.
• To assign permanent drive letters for the USB memory devices, refer to the document READCENTER –Trimble
Ranger USB Setup Installation Data for details.
User Manual
Page 85 June 2014