
Hardware Solutions for Gas Utilities
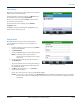
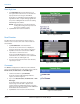
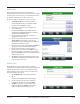
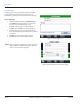
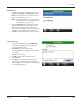
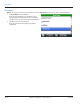
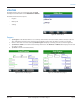
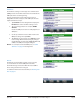
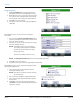
Table Of Contents
- Introduction
- User Guide
- Software Security Modes
- Program Startup and Exit
- Copyright Screen
- Main Menu
- Reading a Route
- Bookmark an Account
- Changing Read Mode
- Work Items
- Requesting Extended Status Manually
- Requesting Firmware Version Manually
- Requesting Historical Interval Data Manually
- Read Menu
- Comments
- Read Direction
- View High/Low
- Manual Read
- Select Route
- Reader Codes
- Trouble Codes
- Text Messages
- Utilities
- Customizations
- Route Info
- Program & Quick Read
- Part II: HandHeld Operation
- Trimble Ranger 3 Handheld Overview
- Factory Reset/Clean Boot
- Using the Handheld Keypad
- Hot Keys, Quick Keys, Read Keys
- Configuration Options
- APPENDIX
- Glossary
- Status Codes
- Valid COM Ports
- Gas Meter Drive Rotation
- Route Memory Stick
- Unloading a Route
- Using VersaProbe with Bluetooth
- Troubleshooting
- Technical Support
Program Options
1. Tap Program Options on the Settings Menu to
display the rst of three Program Options screens.
2. On the Options 1 of 3 screen, tap in the box next to
one or more of the settings that tell the handheld
how to handle certain operations and conditions.
3. Tap Save to save the settings.
4. To advance to the next screen of Program Options
tap 2 of 3.
Figure 92: Program options 1 of 3
On the Options 2 of 3 screen, choose the settings for
route alerts.
1. Tap to check the Alert on Route Boundary box to
activate an audible alert if the meter reader crosses
from one route to another.
2. Tap the Serv1, Serv2 and Serv 3 buttons to change
the meter reading direction.
OTE:N The button names can be changed by
the reading data management software
operator to describe the type of utility
(water, gas, sewer).
Tap the up and down arrows to select.
Figure 93: Program options 2 of 3
OTE:N The Enlargement Timeout feature is not functional at this time.
3. Tap Save to save any changes.
4. To advance to the last screen of Program Options tap 3 of 3.
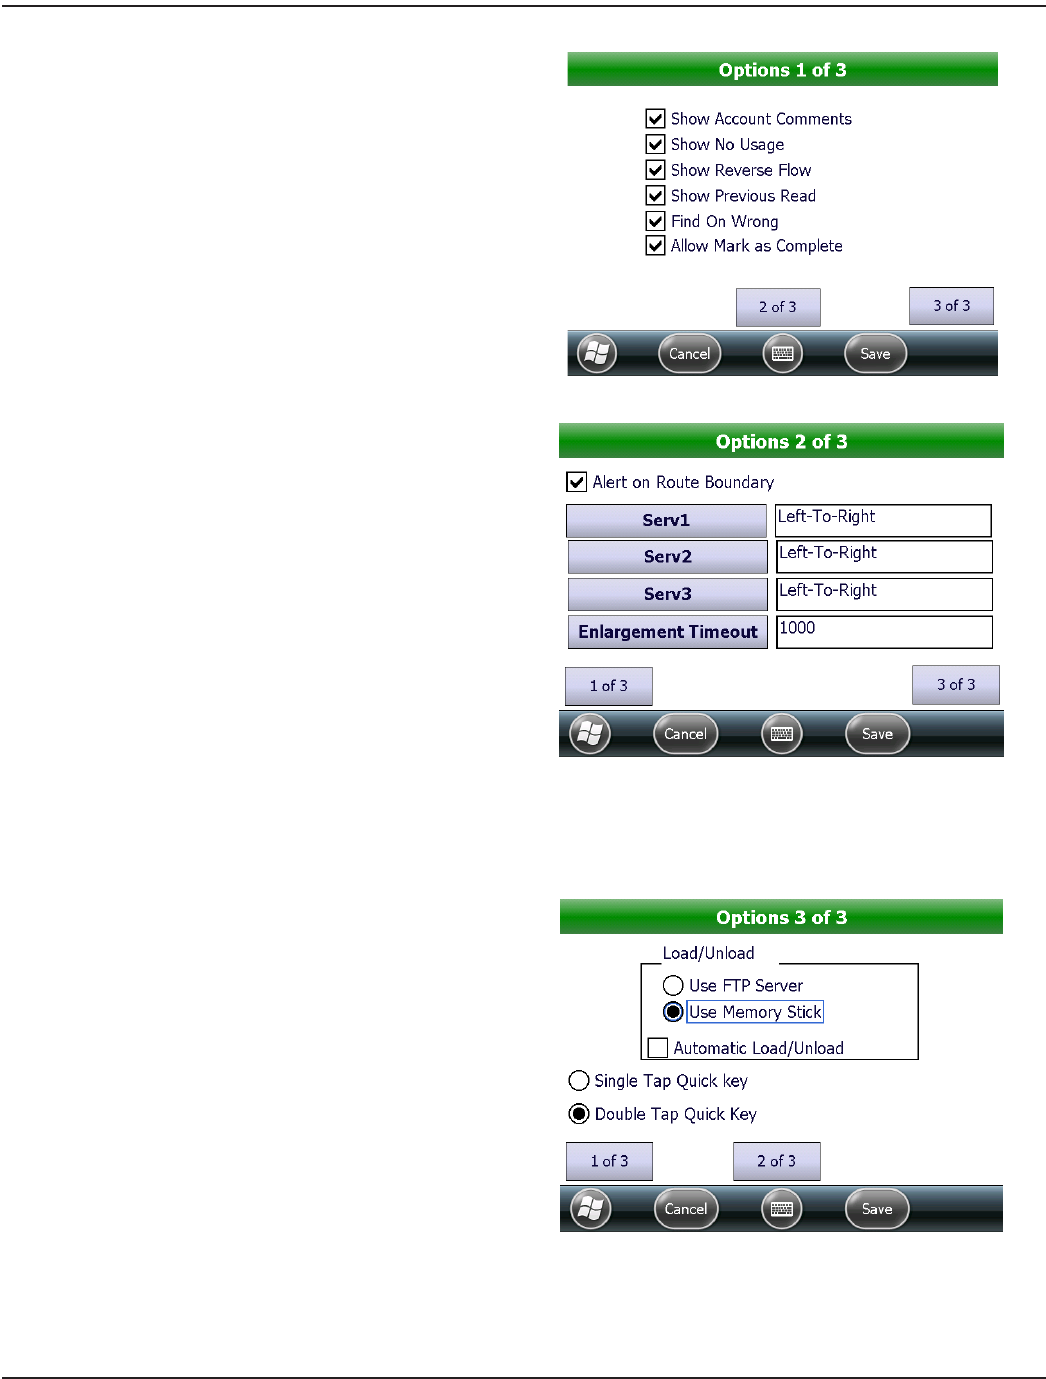
On the Options 3 of 3 screen, choose the settings for route
loading and for Quick Keys.
1. Tap to choose FTP Server or Memory Stick for
loading/unloading a route.
OTE:N The FTP Server option is used for wireless
load and unload.
2. Tap to select the Automatic Load/Unload feature.
3. Tap to choose Single Tap or Double Tap for Quick
Key selection.
4. Tap Save to save any changes to the settings or
tap Cancel to return to the Settings Menu without
saving any changes.
Figure 94: Program options 3 of 3
UTILITIES
Page 50 April 2014ORION® Field Application for Trimble® Ranger 3