
Hardware Solutions for Gas Utilities
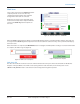
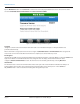
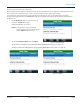

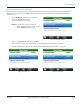

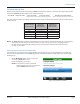
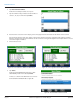
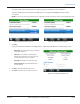
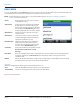
Table Of Contents
- Introduction
- User Guide
- Software Security Modes
- Program Startup and Exit
- Copyright Screen
- Main Menu
- Reading a Route
- Bookmark an Account
- Changing Read Mode
- Work Items
- Requesting Extended Status Manually
- Requesting Firmware Version Manually
- Requesting Historical Interval Data Manually
- Read Menu
- Comments
- Read Direction
- View High/Low
- Manual Read
- Select Route
- Reader Codes
- Trouble Codes
- Text Messages
- Utilities
- Customizations
- Route Info
- Program & Quick Read
- Part II: HandHeld Operation
- Trimble Ranger 3 Handheld Overview
- Factory Reset/Clean Boot
- Using the Handheld Keypad
- Hot Keys, Quick Keys, Read Keys
- Configuration Options
- APPENDIX
- Glossary
- Status Codes
- Valid COM Ports
- Gas Meter Drive Rotation
- Route Memory Stick
- Unloading a Route
- Using VersaProbe with Bluetooth
- Troubleshooting
- Technical Support
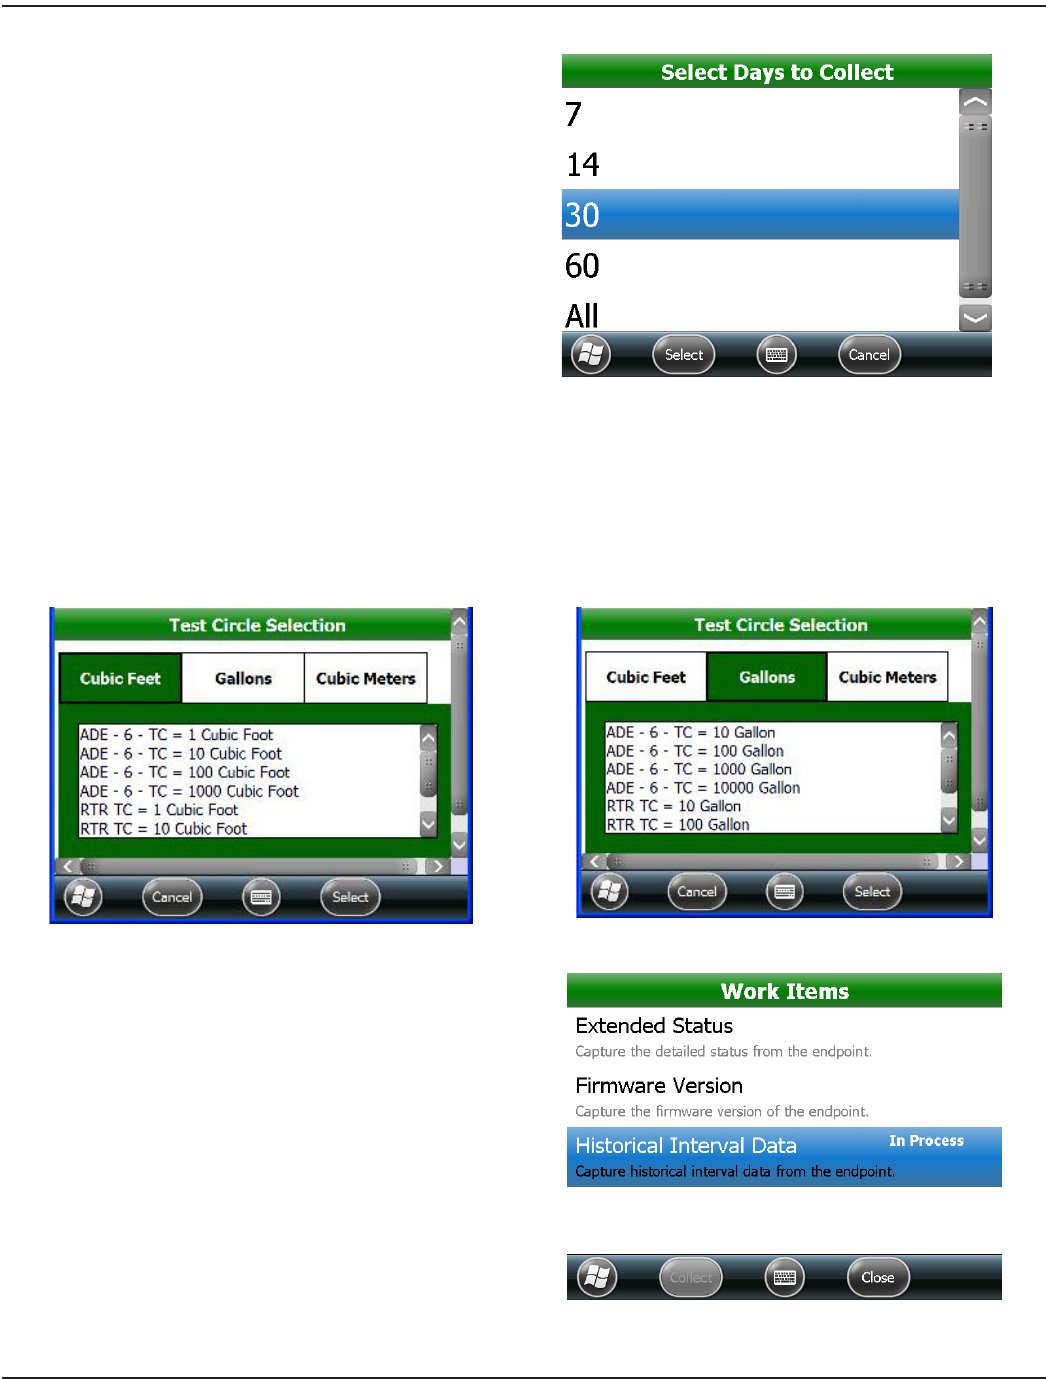
2. Tap Historical Interval Data.
Result: The Select Days to Collect screen opens.
3. Tap the number of days of historical interval data to
collect: 7, 14, 30, 60 or All. Then tap Select.
Figure 37: Days to Collect
4. If the Test Circle Selection screens display, select the appropriate unit of measure for the meter on the account:
Tap the unit of measure (cubic feet, gallons, cubic meters) and then select the registration and reading resolution
from the available list for the selected meter. Use the scroll bar to navigate through the list. Examples of these screens
are shown in Figures 38 and 39.
5. Choose the test circle.
Figure 38: Select Cubic Feet, Gallons or Cubic Meters
Figure 39: Select registration and reading resolution
6. Tap Select.
Result: The historical data collection process starts
automatically. You do not need to tap Collect.
”In Process“ is shown on the Work Items screen next to
the Historical Interval Data field. See Figure 40.
Figure 40: Historical data extraction started
READING A ROUTE
Page 28 April 2014ORION® Field Application for Trimble® Ranger 3