
Manual

Camera Management
25
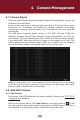
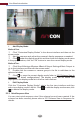
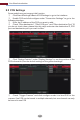
Add Manually
Enter the IP address or domain name (click in the IP address column to pop up
the domain name input window, enter the domain name of the IPC in the window
and then click “OK” button), port, username and password of the camera and
then select the protocol. Click “Test” to test the eectiveness of the input
information and then click “Add” button (you can fill out one camera’s
information or above such as IP address, username and password before clicking
“Add” button). Click to delete the camera. Click “Default Password” to set the
default username and password of each camera.
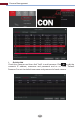
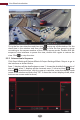
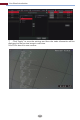
Click “Edit Camera” in the setup panel to go to the interface as shown below.
Click to view the live image of the camera in the popup window.
Click to edit the camera (see Add camera in 3.1 Startup Wizard for details).
Click to delete the IP camera.
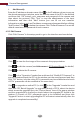
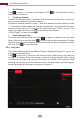
Click in the “Operation” header line and then click “Modify IPC Password” to
pop up a window(check the IPCs in the window, set the new password and then
click “OK” button; only the online IPCs’ passwords can be modified and a batch
of IPCs’ passwords can be modified at the same time).
Click to upgrade an online IPC ( or click in the “Upgrade” header line and
then click “IPC Batch Upgrade” to upgrade a batch of IPCs), select the device
which stores the upgrade file in the “Device Name” item of the popup window
and the upgrade file in the list(you should select the upgrade IPC model in the
window if a batch of IPCs’ passwords need to be modified) and then click
“Upgrade” button to start upgrading(the IPC will restart automatically after the
upgrade is completed successfully).
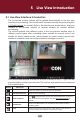
4.2.2 Edit Camera