
Specifications


Table Of Contents
- Contents
- Introduction
- Installation and Authorization
- Session and Track Features
- Advanced Editing Features
- Advanced Automation Features
- AutoJoin with Latch Mode
- Touch/Latch Mode
- Trim Mode
- Composite Automation Playlist
- Copy Track Automation to Sends
- AutoMatch
- Prime Controls for Writing Automation in Latch Mode
- Glide Automation
- Trim Automation
- Write Automation to the Start, End, or All of a Track or Selection
- Write Automation to the Next Breakpoint or to the Punch Point
- Overwrite or Extend Mute Automation
- Snapshot Automation
- Preview Automation
- Capture Automation
- VCA Master Track Automation
- Surround Features
- Pro Tools Audio Connections for 5.1 Mixing
- Configuring Pro Tools for Multichannel Sessions
- Default I/O Selectors in I/O Setup
- 5.1 Track Layouts, Routing, and Metering
- Routing Audio for Surround Mixing
- Multichannel Audio Tracks
- Multichannel Signal Routing
- Paths in Surround Mixes
- Example Paths and Signal Routing for a Surround Mix
- Introduction to Pro Tools Surround Panning
- Output Windows
- Surround Panner Controls
- Panning Modes
- Divergence and Center Percentage
- LFE Faders in Multichannel Panners
- Pan Playlists
- Surround Scope Plug-In
- Video Features
- Included Plug-Ins
- Index
Complete Production Toolkit 2 Guide94
To enable 3-Knob Panning mode:
Click on the Panning Mode button until the
3-Knob mode icon is displayed.
The panner trajectory line appears across the
Grid, extending from the front (X-axis) to the
rear (Y-axis).
To pan in 3-Knob mode:
1 Adjust the Front and Rear Position knobs to
set the trajectory line.
2 Rotate the Front/Rear Position knob to pan
along the trajectory. The Pan Location cursor is
constrained to the white trajectory line.
To change the 3-Knob trajectory angles, do one of
the following:
Drag either end point (Front or Rear) of the
trajectory line.
– or –
Adjust the Front or Rear Position controls.
To change the current trajectory position (left-to-
right) and retain its current angles:
Drag the trajectory line (not its end points) to
a new position.
AutoGlide Mode
AutoGlide mode lets you quickly write Surround
Panner automation by clicking new locations in
the Surround Panner window, instead of manu-
ally moving the Surround Panner controls.
The time it takes to glide from point to point
(from the Pan Location cursor to the new desti-
nation) is called the AutoGlide Time. This time
is set in the Mixing Preferences page and has a
range of 10 msec to 10000 msec (10 seconds).
To set the AutoGlide Time
1 Choose Setup > Preferences and click the Mix-
ing tab.
2 Set the AutoGlide Time in the Automation sec-
tion.
To do an AutoGlide automation pass:
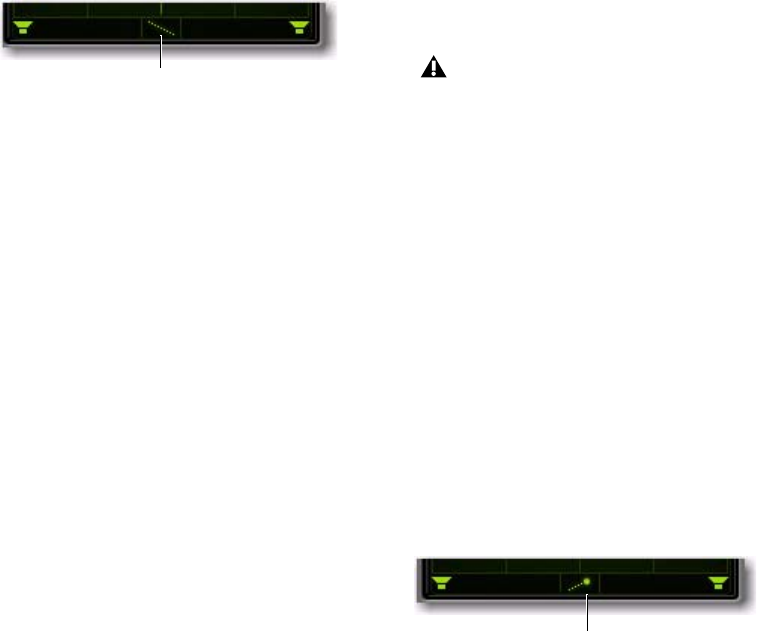
1 Click the Panning Mode button until the
AutoGlide mode icon is displayed.
The Panning Mode button displays a slanted
dotted line that ends with a filled in dot (repre-
senting a cursor) at its top right corner.
2 In the Mix or Edit window, click the Automa-
tion Mode selector and select an Automation
mode for the track you want to automate.
3 Press Play to begin playback.
Panner Mode button set to 3-Knob mode
3-Knob mode icon
When writing automation in AutoGlide
mode, the Pan Location cursor cannot be
dragged from its location.
Panner Mode button set to AutoGlide mode
AutoGlide mode icon