
Specifications


Table Of Contents
- Contents
- Introduction
- Installation and Authorization
- Session and Track Features
- Advanced Editing Features
- Advanced Automation Features
- AutoJoin with Latch Mode
- Touch/Latch Mode
- Trim Mode
- Composite Automation Playlist
- Copy Track Automation to Sends
- AutoMatch
- Prime Controls for Writing Automation in Latch Mode
- Glide Automation
- Trim Automation
- Write Automation to the Start, End, or All of a Track or Selection
- Write Automation to the Next Breakpoint or to the Punch Point
- Overwrite or Extend Mute Automation
- Snapshot Automation
- Preview Automation
- Capture Automation
- VCA Master Track Automation
- Surround Features
- Pro Tools Audio Connections for 5.1 Mixing
- Configuring Pro Tools for Multichannel Sessions
- Default I/O Selectors in I/O Setup
- 5.1 Track Layouts, Routing, and Metering
- Routing Audio for Surround Mixing
- Multichannel Audio Tracks
- Multichannel Signal Routing
- Paths in Surround Mixes
- Example Paths and Signal Routing for a Surround Mix
- Introduction to Pro Tools Surround Panning
- Output Windows
- Surround Panner Controls
- Panning Modes
- Divergence and Center Percentage
- LFE Faders in Multichannel Panners
- Pan Playlists
- Surround Scope Plug-In
- Video Features
- Included Plug-Ins
- Index
Complete Production Toolkit 2 Guide40
To take an automation type out of Latch Prime on
all tracks, do one of the following:
In the Automation window, Control-click
(Windows) or Command-click (Mac) the button
for the automation type (Volume, Pan, Mute,
Plug-In, Send level, Send pan, or Send mute).
Rolling Through Automation Punch
Points in Latch Prime
After you prime controls for writing automation
while the transport is stopped, you can set
Pro Tools to automatically punch in at that
point after issuing a back and play command, or
after rolling back and locking to time code.
To set Pro Tools to automatically punch in
automation writing on a track:
1 Locate the cursor where you want to punch in
automation.
2 Prime controls for writing while the transport
is stopped. (See “Prime Controls for Writing Au-
tomation in Latch Mode” on page 38.)
3 In the Automation window, click the AutoJoin
button.
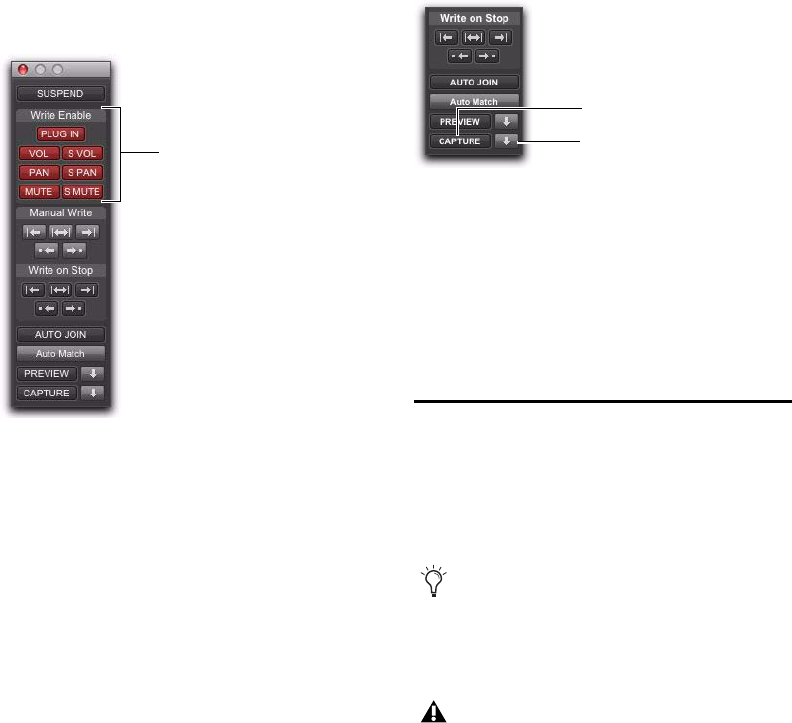
4 In the Automation window, click the Capture
button and then click the Punch Capture button.
The AutoJoin marker (a vertical red line) appears
on-screen at the punch point.
5 Issue a Back and Play command, roll back the
external machine to before the punch in point,
or enable pre-roll.
6 Start playback. When the transport reaches
the punch-in point, automation writing begins.
Glide Automation
The Glide Automation commands let you manu-
ally create an automation transition (or glide)
from an existing automation value to a new one,
over a selected area.
Automation types in the Automation window
Automation
type buttons
Capture and Punch Capture buttons in the Automation
window
When gliding multiple parameters at the
same time, such as with the Surround Pan-
ner or plug-ins, use the Edit > Automation >
Glide to All Enabled option.
For MIDI automation, Glide To commands
only apply to MIDI Volume, MIDI Pan, and
MIDI Mute. MIDI parameters cannot use
the Write To commands.
Punch Capture button
Capture button