
User guide


Table Of Contents
- Contents
- Introduction to System 5
- Master Facilities and Channel Strip
- Control, Layouts and Snapshots, and Linking
- Chapter 8: Machine Control (S5P Only)
- Chapter 9: Control Groups and Multi Format Masters
- Chapter 10: Layouts and Snapshots
- Chapter 11: Linking (S5P Only)
- Chapter 12: Dynamic Automation (S5P Only)
- Chapter 13: GPI/O Event System
- Chapter 14: CM403 Film/Post Module (S5 Only)
- Chapter 15: Hybrid Pilot and System 5 Fusion Options
- Appendix A: Compliance Information
Chapter 12: Dynamic Automation (S5P Only) 141
Fill End
1 Press the Fill End key in the center section automation panel.
The Fill End key flashes.
2 Punch in the parameter and adjust the control.
3 Punch out and the level at that time is written to the end of the mix.
The Fill End key stops flashing indicating it is no longer active.
Fill End is useful to quickly fill a static value to the end of a mix without recording to the end.
Fill Start + Fill End
1 Press Fill End then Fill Start in the center section automation panel.
Both keys must be illuminated.
2 Punch in the parameter and adjust the control.
3 Punch out and the level at that time is written throughout the mix.
Using Fill Start and Fill End together is a useful way to set a static value all the way through the mix.
Setting Fill Start and End Times
The Fill Region features, discussed in the next sections, require setting the AR/Start and AR/End time fields in the Automation Panel.
The Fill Region key must be lit for these times to be used.
1 From the Main Panel, press the Automation button to display Automation Panel Page 1.
2 Enter a complete timecode (begin with frames) into the locate time display using the center section numeric keypad.
After pressing the first numeric key, the display clears to enter the new value.
You can also recall a Cue to enter the time (see “Cue Points” on page 105).
3 Press Store Locate and then the AR/Start key in Automation Panel Page 1 to transfer the locate time to the AR/Start field.
4 Enter the AR/End time into the locate time display by repeating step 2.
5 Press Store Locate and then the AR/End key in Automation Panel Page 1 to transfer the locate time to the AR/End field.
To adjust the AR/Start or AR/End time by a few frames:
1 On the center section, press Recall then AR/Start to transfer the AR/Start time to the locate time display.
2 Press the Trim +/- keys to adjust the value in one frame increments.
3 Press Store Locate and then AR/Start to transfer the new value to the AR/Start field.
To modify the AR/End time, perform the same steps but substitute the AR/End for the AR/Start key.
Pressing Fill Start or Fill End twice in rapid succession will cause the key to latch on so it remains active after the pass ends.
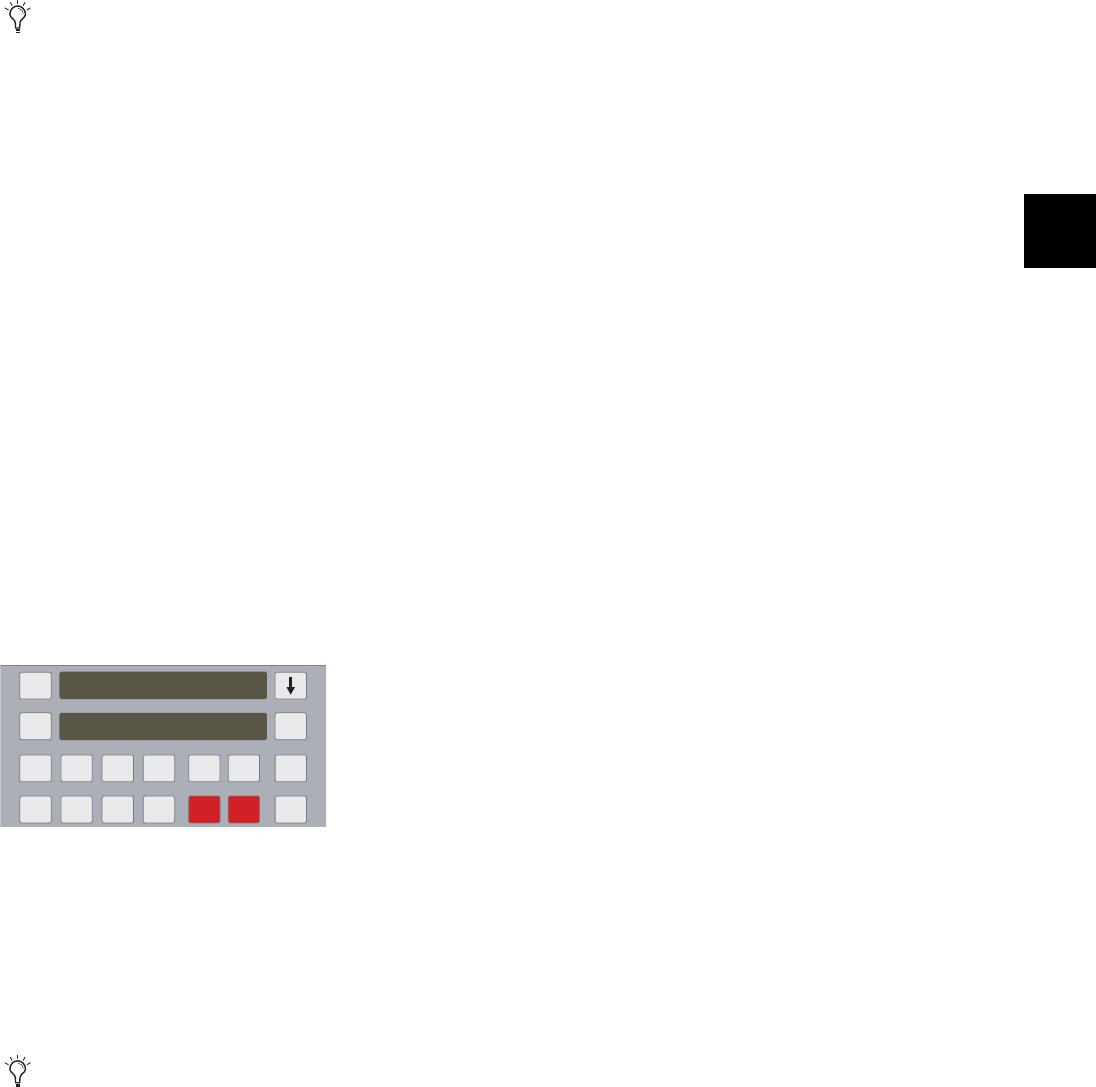
Setting times in the machine control panel
The center section Fill Start and Fill End keys can be used interchangeably with the AR/Start and AR/End keys.
hr min
bar
sec / ft
beat
Fr/ms
Tick
locate time
Time
Display
_
+
Edit
Trim
+
Trim
-
Locate
Reg’s
78 9
Cue
Store
Current
Store
Locate
Recal
l
Delete
00:12:24:03
00:16:11:04