Full Product Manual
Table Of Contents
- Trademarks
- Copyright Information
- Disclaimer of Warranties and Limitation of Liabilities
- For Services and Support:
- Safety Precautions and Warnings
- 1 General Information
- 2 Using the Scan Tool
- 3 Print and Update
- 4 OBDII Diagnostics
- 5 Ready Test
- 6 Compliance Information
- 7 Warranty and Service

55
Ready Test Application
This function displays which vehicle monitors have run, if they have been
completed and the results of the testing. Results display on one screen
providing an at-a-glance profile of the vehicle.
Use the UP/DOWN scroll button and LEFT/RIGHT scroll button to
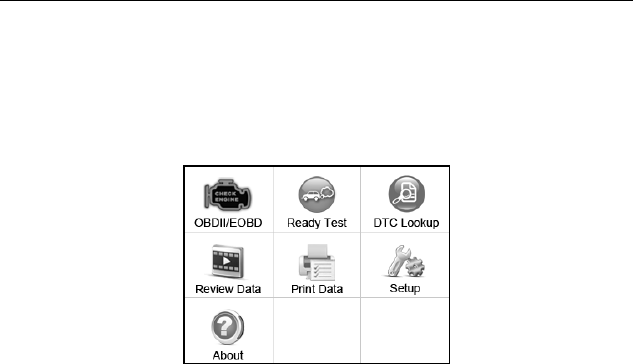
select Ready Test from Main Screen, and press the OK button.
Figure 5-1
As post-repair diagnostic tool
This function can be used (after the vehicle has done any emission-related
repairs) to confirm that the repair has been performed successfully.
After repairs, some drive cycles are required to reset the monitoring
systems. Drive cycles vary by vehicle and by monitor.
Use the following procedure to check if the repair has been done correctly:
1) Connect the scan tool to the vehicle’s DLC and erase the DTC(s) from
the vehicle’s computer memory.
2) After the erase procedure is performed, status of most monitors will be
changed. Leave the scan tool connected to the vehicle, and select
Ready Test from Main Screen.
3) Continue to drive the vehicle until the scan tool notifies you that the
drive cycle has been completed.
4) If the GREEN LED lights and the tool emits two long beeps, your
vehicle is ready and the repair work is confirmed.


