
User's Manual

33
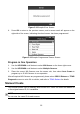
Program One by One
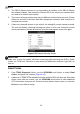
1. Use the UP/DOWN scroll button and LEFT/RIGHT scroll button to select
MX-Sensor icon on the lower right corner of the function screen (Figure 5-1).
NOTE
The MX-Sensor icon on the lower right corner will not appear if the TPMS Sensor
Programming is not supported by the selected vehicle.
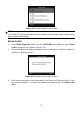
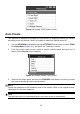
2. Use the UP/DOWN scroll button to select the wheel which needs to be programmed
(Figure 5-2).
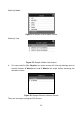
3. Use the UP/DOWN scroll button to select Auto Create to create a new random
sensor ID.
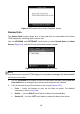
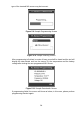
Figure 5-7 Sample Auto Create Screen
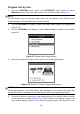
4. Insert the correct MX-Sensor into the sensor slot as displayed below:
Figure 5-8 Sample LF Sensor Programming Screen
NOTE
Please pay attention to the MX-Sensor type displayed in the screen and insert the
correct MX-Sensor. Inserting incorrect MX-Sensor will cause programming failure.
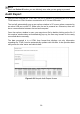
5. Press the Y button to write in the new created sensor ID to the MX-Sensor and the
screen will show as below (Figure 5-9), or the N button to exit without change. If an
error prompt displays (Figure 5-10), please try another type of MX-Sensor, for the