
Specifications


Table Of Contents
- Processing P2 Media with FlipFactory - App Note
- Synopsis
- MXF Codec Features and Capabilities
- Using P2 Monitors in a Factory
- Making P2 Media Accessible
- Access Options
- Submitting P2 Media Manually
- Processing Spanned P2 Files
- Stitching Multiple Files Into a Single File
- Output File Naming and Delivery
- P2 Destination Features
- Copyright and Trademark Notice
- Limited Warranty and Disclaimers
Access Options © 2008 Telestream, Inc. Page 7
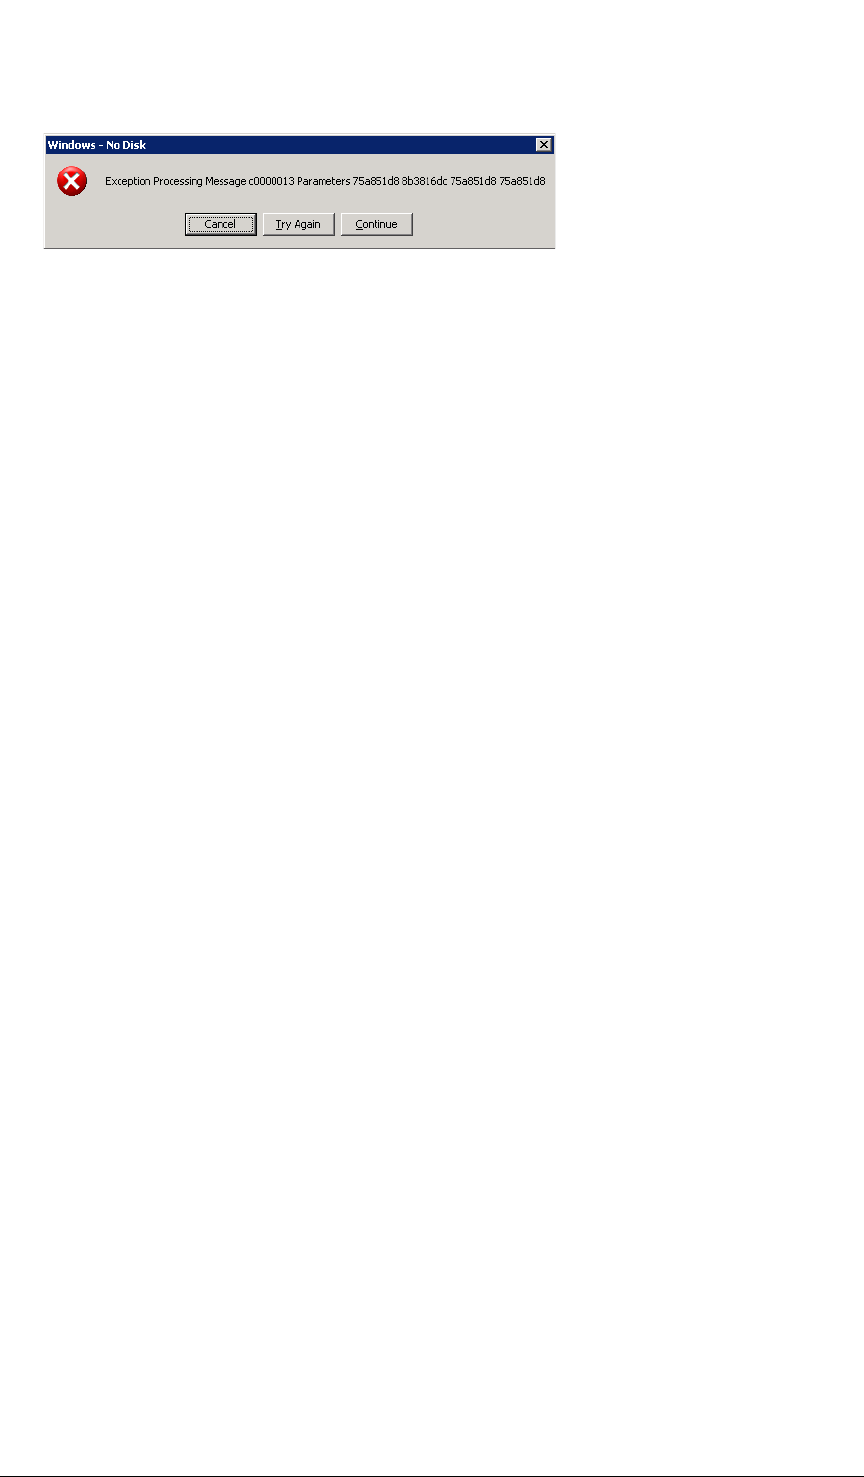
Figure 3. Windows error when you select a drive without a P2 card in it.
Note: For more details on configuring your monitor, click the Help button with the monitor’s
editor panel displayed to view the online help page.
8. Save your factory settings and close the Manage Factories window.
9. Now, display the System Status window and observe your new P2 monitor come online. The
P2 Network Folder monitor first displays “Initializing” in the Status column. When the Status
column displays “Connected: \\Win_Server_9\E_P2_Share\CONTENT, no new file(s)
detected”, the monitor is operational.
Insert the P2 Card
With your factory’s product and P2 Local Folder monitor correctly configured, insert a P2 card into
any slot in the reader.
For each new P2 XML file detected, a job is automatically submitted to the specified FlipFactory
account. FlipFactory’s MXF codec parses the XML file to process the associated media files and
produce the output specified in your factory.
Accessing Media Copied to a Folder on the FlipFactory Server
To access P2 media you’ve copied from a mounted P2 card into a local folder directly on the
FlipFactory server, follow these steps:
Set Up the Factory With a P2 Local Folder Monitor
1. Create a new folder directly on your FlipFactory server and name it appropriately for your P2
media – P2_Media_In, for example.
2. Add a P2 Local Folder monitor to your P2 factory (for each card slot you want media pro-
cessed from.
3. Configure the target directory in the Monitored Folder field – click Browse, navigate to the tar-
get folder (C:\P2_Media_In, in this example) and select it, then click Select.
Note: For more details on configuring your monitor, click the Help button with the monitor’s
editor panel displayed to view the online help page.
4. Save your factory settings and close the Manage Factories window.
5. Display the System Status window and observe your new P2 monitor come online. The P2
Local Folder monitor first displays “Initializing” in the Status column. When the Status column
displays “Online: C:\P2_Media_In, no new file(s) detected”, the monitor is operational.
With your factory’s product and P2 Local Folder monitor correctly configured, you are ready to
process P2 media.
Copy the Media to the Target Directory
Open the target folder being monitored by your factory and create a CONTENT folder in it, if one is
not already present.