
Specifications


Table Of Contents
- Processing P2 Media with FlipFactory - App Note
- Synopsis
- MXF Codec Features and Capabilities
- Using P2 Monitors in a Factory
- Making P2 Media Accessible
- Access Options
- Submitting P2 Media Manually
- Processing Spanned P2 Files
- Stitching Multiple Files Into a Single File
- Output File Naming and Delivery
- P2 Destination Features
- Copyright and Trademark Notice
- Limited Warranty and Disclaimers
Making P2 Media Accessible © 2008 Telestream, Inc. Page 4
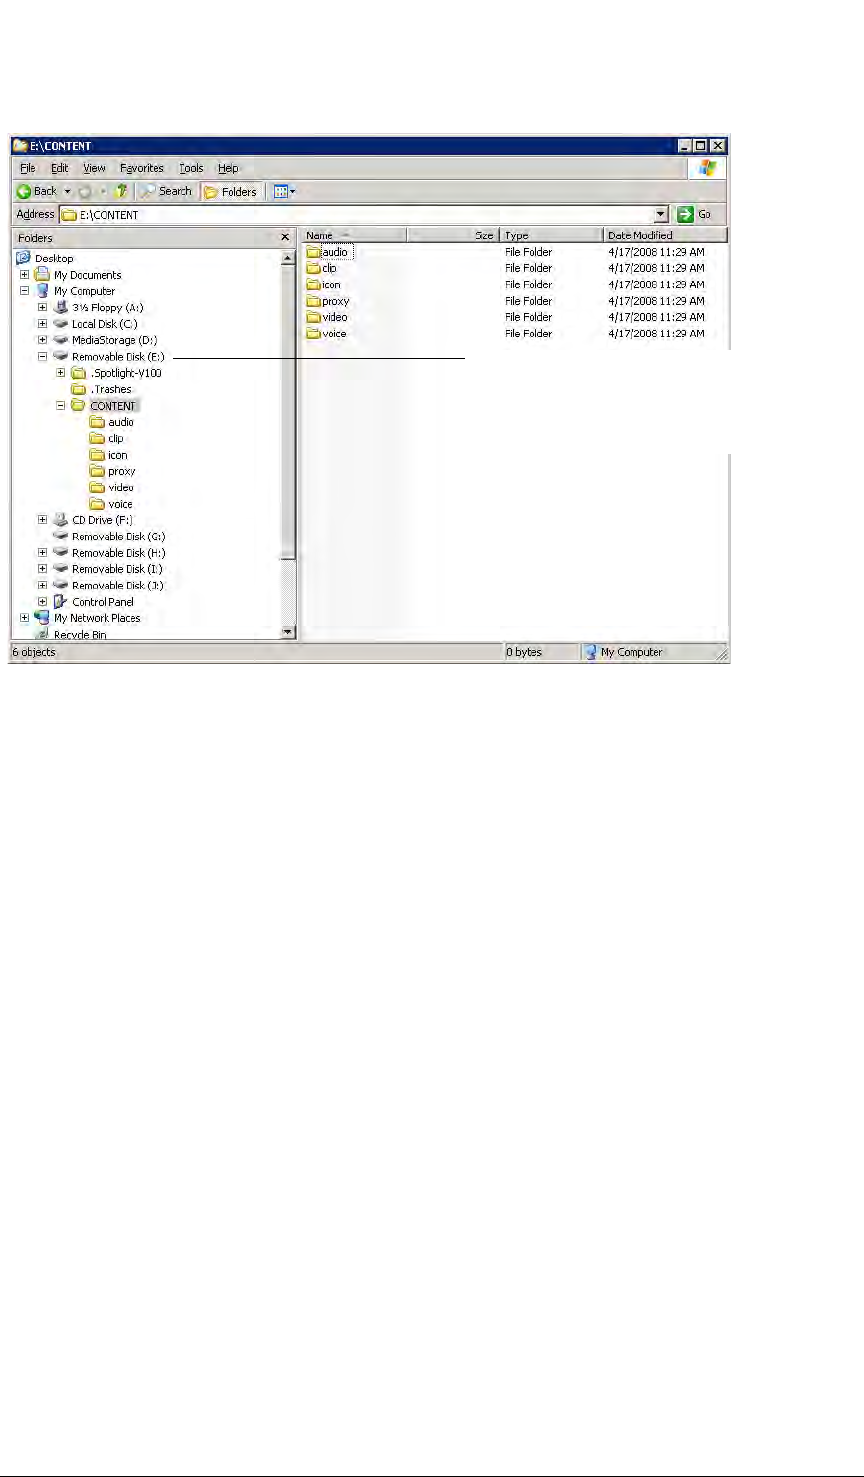
Figure 1. P2 cards function as letter drives in Windows
In this example (Fig. 1, above) a 5-port memory drive is attached to a Windows computer. Drive E
is expanded to display the CONTENT directory and its sub-directories, which contain clips
composed of media files and XML files.
Note: The E drive is the only one with an inserted P2 card: If you open a drive (G, H, I, or J in this
example) without an inserted P2 card, Windows displays a dialog asking your to insert a disk into
the drive.
When you have created and tested your P2 factory and you’re ready to process jobs in
FlipFactory, insert the P2 cards with the clips you want to submit into your memory drive/recorder.
Depending on your workflow requirements – and how you’ve set up your factory – the P2 monitor
scans the cards or scans the target directory where you’ve copied the CONTENTS directory. In
either case, the P2 monitor detects each new XML file and ingests new P2 media.
How you make P2 media accessible depends on how you design your workflow:
P2 Cards display as Letter Drives
When you install a P2 card reader, each card
port is assigned a drive letter. Each P2 monitor
in your factory regularly scans for new XML
files in the clip folder.