User Guide
Table Of Contents
- Contents
- 1 Introduction
- 2 Songs
- 3 Transport
- 4 Recording
- 5 Playback and Mixing
- 6 Mastering and Mixdown
- 7 Effects
- 7.1 Automated Fader
- 7.2 Band Effect
- 7.3 Chorus
- 7.4 Compressor
- 7.5 Convolutor
- 7.6 Deesser
- 7.7 Doubler
- 7.8 Dynamics
- 7.9 Echo
- 7.10 EQ
- 7.11 Exciter
- 7.12 Flanger
- 7.13 Guitar Amp
- 7.14 Master Limiter
- 7.15 Multi Effect
- 7.16 Noisegate
- 7.17 Parallel Effect
- 7.18 Phase Inverter
- 7.19 Phaser
- 7.20 Pseudo Stereo
- 7.21 Reverb
- 7.22 Rotor
- 7.23 Saturation
- 7.24 Stereo Effect
- 7.25 Tremolo
- 7.26 Tuner
- 7.27 Vibrato
- 7.28 VST Plugins
- 7.29 DX Plugins
- 7.30 External Sidechain Routing
- 8 MIDI Instruments
- 9 Automation
- 10 Editing
- 10.1 Editing Tracks
- 10.2 Editing Audio Tracks
- 10.3 Vocal Pitch Correction
- 10.4 Editing MIDI Tracks
- 10.5 Editing Notes
- 10.6 Pianoroll Editor
- 10.7 Notation Editor
- 10.8 Drum Editor
- 10.9 Controller Editor
- 10.10 MIDI Pattern Editing
- 10.11 Tempo/Time Signature Editing
- 10.12 Song Editor
- 10.13 Multi MIDI Editor
- 10.14 Multitrack Editing
- 10.15 Chords and Lyrics
- 11 Devices
- 12 Control Surfaces
- 13 Audio and MIDI Files
- 14 Keyboard Shortcuts
- 15 Touchscreens
- 16 Preferences
- 17 Tools
- 18 Miscellaneous
- 19 Requirements
- 20 Troubleshooting

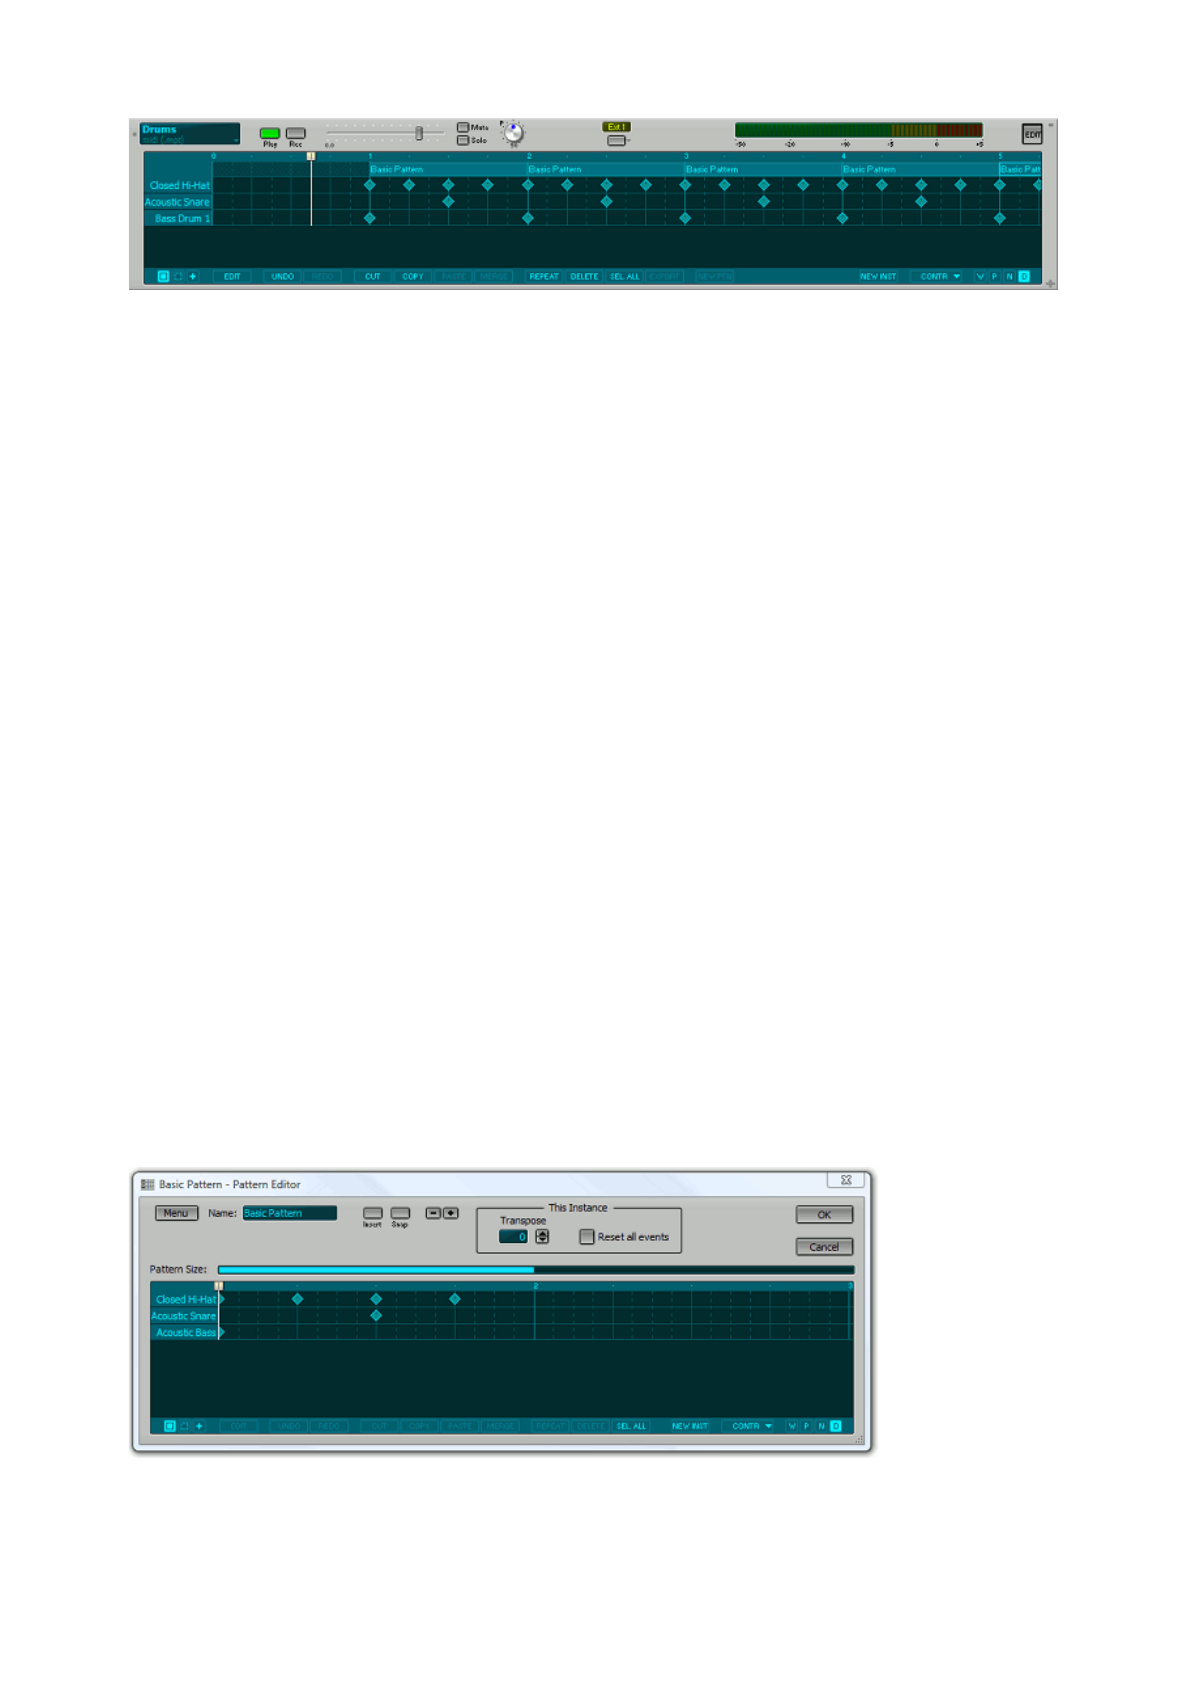
Drum track with patterns
A pattern is a small piece of MIDI music. It will generally have a size that makes sense in musical terms
(eg. a bar, four bars, or a verse).
A new pattern can be created in two ways:
l Select a part of the Pattern Bar and click the New Ptn button. The Pattern Editor will appear
automatically.
l Select a part of the track editor and click the New Ptn button. A new pattern will be created and all
notes that were in the selected part will be moved to the pattern.
The most important feature of the pattern editing concept is that a pattern can have multiple instances (the
pattern can appear more than once on the Pattern Bar). Changing the pattern will change all instances.
A new instance of a selected pattern can be created in three ways:
l Dragging the pattern while keeping the Ctrl button down copies the pattern.
l Using the Repeat button
l Using Copy and Paste.
All editor buttons (Cut, Copy, Paste etc.) work as expected when working on the selected part of the
Pattern Bar. You can select either a single pattern (by clicking it), or a part with all patterns that are in it
(you can press the Alt button while selecting to avoid selecting a single pattern).
The track editor can be used as if it's an ordinary MIDI track. Patterns that are in the selected area will be
moved or removed when the selected area is dragged or deleted. Editing individual notes is also possible.
If a note that belongs to a pattern is modified the modifications will be remembered by the particular
instance of the pattern. If the pattern itself is changed the modifications will be applied to the note again.
This works in an additive manner: the offsets (in beats) as remembered by the instance will added to the
note's position and length. Similarly any offsets to the note itself and it's volume will be added.
When a pattern is selected the Edit button will invoke the Pattern Editor. Alternatively you can double-click
a pattern.
Pattern Editor
The Pattern Editor can be used to edit a pattern. On clicking the OK button the selected pattern, and all
other instances of it, will be updated.
Pattern Editor (showing a one bar drum pattern)


