
Specifications


DESCRIPTION
Automatic System Access
(ASA)
includes four features that allow more
flexible use of your MERLIN Plus system and your outside lines.
The
features are described in this section under separate entries:
l
Call Forwarding (CF)
l
Direct Extension Dialing (DXD)
l
System Answer (SA)
l
Remote Line Access (RLA)
CONSIDERATIONS
CF and RLA only operate when the Central Office (CO) or PBX provides
Forward Disconnect on the serving lines. All lines in the system must be
assigned to the
ASA
port.
Refer to the individual features in this section for specific considerations for
each feature.
If your responsibilities do not include system administration, skip this
information.
ASA
Jack Assignment
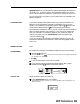
The Automatic System Access features require a dedicated jack on the control
unit into which you can plug one end of the Auto Access cord. The cord also
plugs into the memory module where the Voice Synthesis Processor (VW) is
located. The VSP provides taped messages to callers when ASA features are
being used. At startup, jack 18 is automatically assigned to ASA. To change
the assignment, use the following procedures:
NOTE:
You cannot assign jack 19, usually assigned to Busy Buster and/or
Call Report, unless you have reassigned the jack for these features.
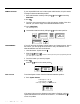
1
Enter administration mode by sliding the
TIP
switch to
P
and touching
Administer.
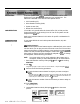
2 Dial
*59.
The green light goes on next to the Auto Intercom button of the jack assigned to
ASA.
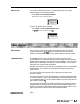
3
Perform one of the following procedures:
)
Touch the Auto Intercom button for the jack you want to assign to
ASA.
The green light goes
ofi
next to the button for the old number, and the green light goes
on next to the button for the new number.
lf
you hear a denial tone, the feature is on
or the VSP port is active. Either wait or turn
ofj
the feature.
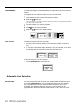
)
Dial the intercom number of the voice terminal you want to assign to
ASA.
4 Touch Administer.
The console beeps twice.
5
Leave administration mode by sliding the
TIP
switch to the center
position.