
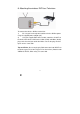
User manual


20
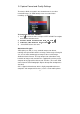
Typically, a value somewhere in the middle of the range is a good
choice (somewhere between 5 and 10 is suggested). This is usually
sensitive enough to pick up the majority of significant events but not
so sensitive that your SD card will fill up with numerous false alarms!
The best way to tweak the sensitivity is by trial and error. Set the
value to somewhere near 8, and then walk in front of your camera,
impersonating the path of a potential security risk. If the wireless DVR
does not record you doing so, lower the sensitivity value. If the
wireless DVR starts recording when you’re not in the picture, then
raise the value.
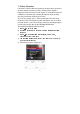
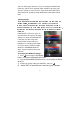
Detection Range:
If you have some continual motion in view of the camera, such as a
busy road or a tree blowing in the wind, then you’ll need to define
which part of the screen you want to be sensitive to motion. You can
choose the whole screen, a quarter of the screen or 1/16th of the
screen.
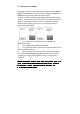
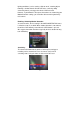
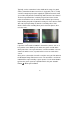
Once you’ve selected the size of the sensitive area, you’ll be taken to
the Detection Range Placement screen. The area that is sensitive to
motion will be represented by a green square. Use the arrow buttons
to move the green square to a position which suits your situation.
Press when you’re done.