
- ASUS Laptop User's Manual

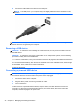

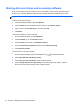
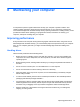


Table Of Contents
- Starting right
- Getting to know your computer
- Connecting to a network
- Enjoying entertainment features
- Navigating using touch gestures, pointing devices and the keyboard
- Managing power
- Initiating Sleep and Hibernation
- Using the power meter and power settings
- Selecting a power plan
- Running on battery power
- Running on external AC power
- HP CoolSense (select models only)
- Refreshing your software content with Intel Smart Connect Technology (select models only)
- Shutting down (turning off) the computer
- Managing and sharing information
- Maintaining your computer
- Securing your computer and information
- Using Setup Utility (BIOS) and System Diagnostics
- Backing up, restoring, and recovering
- Specifications
- Electrostatic Discharge
- Index
Inserting and removing a digital storage card
To insert a digital storage card:
CAUTION: To reduce the risk of damage to the digital card connectors, use minimal force to insert
a digital card.
1. Hold the card label-side up, with the connectors facing the computer.
2. Insert the card into the digital storage slot, and then press in on the card until it is firmly seated.
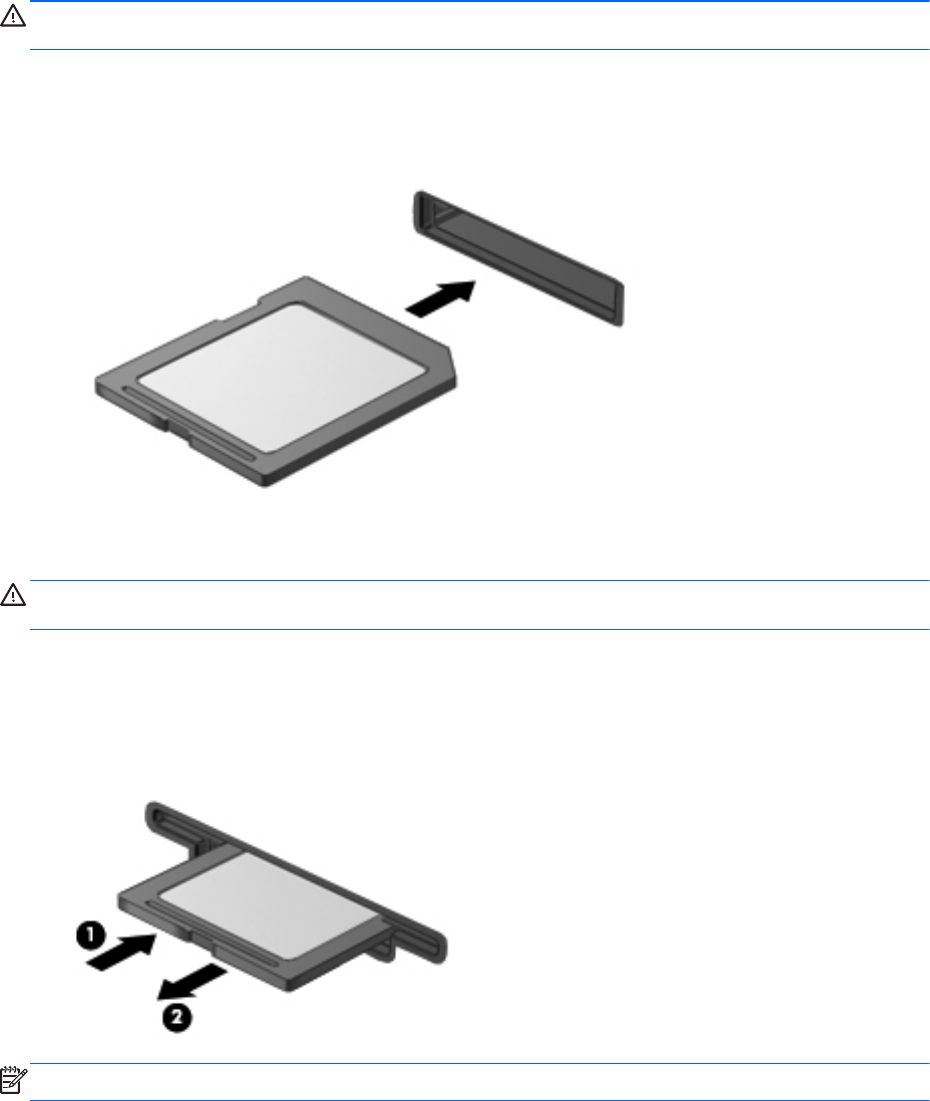
To remove a digital storage card:
CAUTION: To reduce the risk of loss of data or an unresponsive system, use the following
procedure to safely remove the digital card.
1. Save your information and close all programs associated with the digital card.
2. From the Windows Desktop, click the remove hardware icon in the notification area, at the far
right of the taskbar. Then, follow the on-screen instructions.
3. Press in on the card (1), and then remove it from the slot (2).
NOTE: If the card is not ejected, pull the card out of the slot.
Inserting and removing a digital storage card 45