
user manual
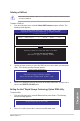


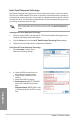
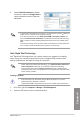


Table Of Contents
- Safety information
- About this guide
- P8H77-V specifications summary
- Chapter 1: Product introduction
- Chapter 2: Hardware information
- 2.1 Before you proceed
- 2.2 Motherboard overview
- 2.3 Building your computer system
- 2.3.1 Additional tools and components to build a PC system
- 2.3.2 CPU installation
- 2.3.3 CPU heatsink and fan assembly installation
- 2.3.4 DIMM installation
- 2.3.5 Motherboard installation
- 2.3.6 ATX Power connection
- 2.3.7 SATA device connection
- 2.3.8 Front I/O Connector
- 2.3.9 Expension Card installation
- 2.3.10 Rear panel connection
- 2.3.11 Audio I/O connections
- 2.4 Starting up for the first time
- 2.5 Turning off the computer
- Chapter 3: BIOS setup
- Chapter 4: Software support
- Chapter 5: Multiple GPU technology support
- Appendices
- http://csr.asus.com/english/Takeback.htm
4-30
Chapter 4: Software support
Chapter 4
5. Type list partition,
press Enter, and select the
partition where the Intel
®
Rapid Start Technology is
installed by typing select
partition x (x = number),
and press Enter.
6. Type delete partition override, and press Enter. The diskpart utility deletes
the selected partition
7. In the desktop, click Start, right-click Computer, and click Manage.
8. In the Computer Management window,
click Disk Management, right click the
shrinked new volume, and select Extend
Volume.
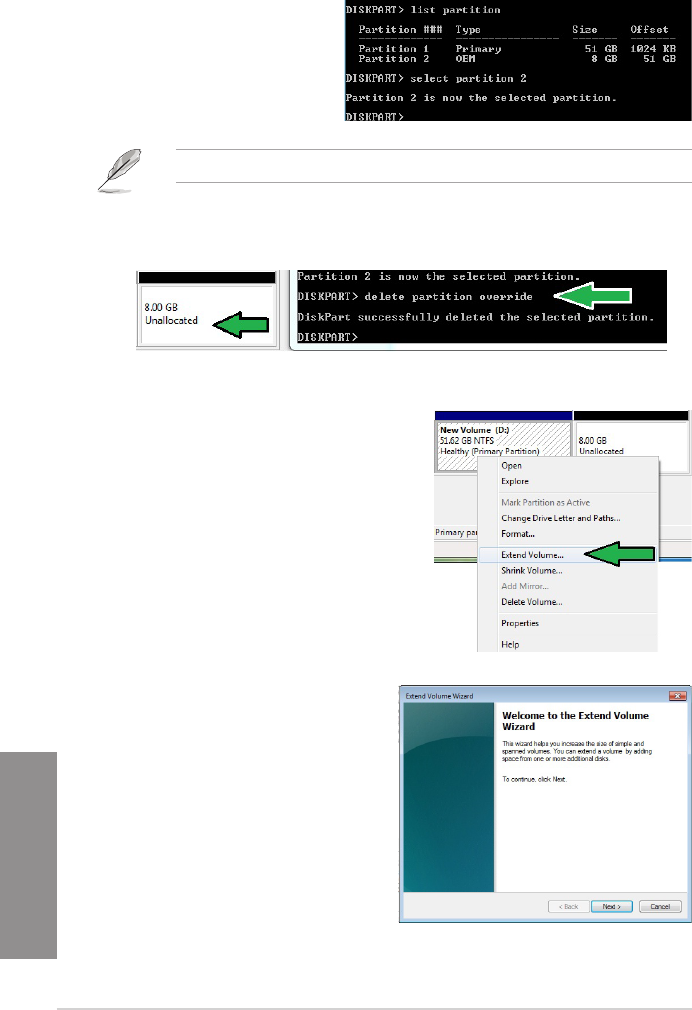
9. As the Extend Volume Wizard appears,
click Next.
The value “x” refers to a disk number where you want to delete the store partition.