
user manual


Table Of Contents
- Safety information
- About this guide
- P8H77-V specifications summary
- Chapter 1: Product introduction
- Chapter 2: Hardware information
- 2.1 Before you proceed
- 2.2 Motherboard overview
- 2.3 Building your computer system
- 2.3.1 Additional tools and components to build a PC system
- 2.3.2 CPU installation
- 2.3.3 CPU heatsink and fan assembly installation
- 2.3.4 DIMM installation
- 2.3.5 Motherboard installation
- 2.3.6 ATX Power connection
- 2.3.7 SATA device connection
- 2.3.8 Front I/O Connector
- 2.3.9 Expension Card installation
- 2.3.10 Rear panel connection
- 2.3.11 Audio I/O connections
- 2.4 Starting up for the first time
- 2.5 Turning off the computer
- Chapter 3: BIOS setup
- Chapter 4: Software support
- Chapter 5: Multiple GPU technology support
- Appendices
- http://csr.asus.com/english/Takeback.htm
4-14
Chapter 4: Software support
Chapter 4
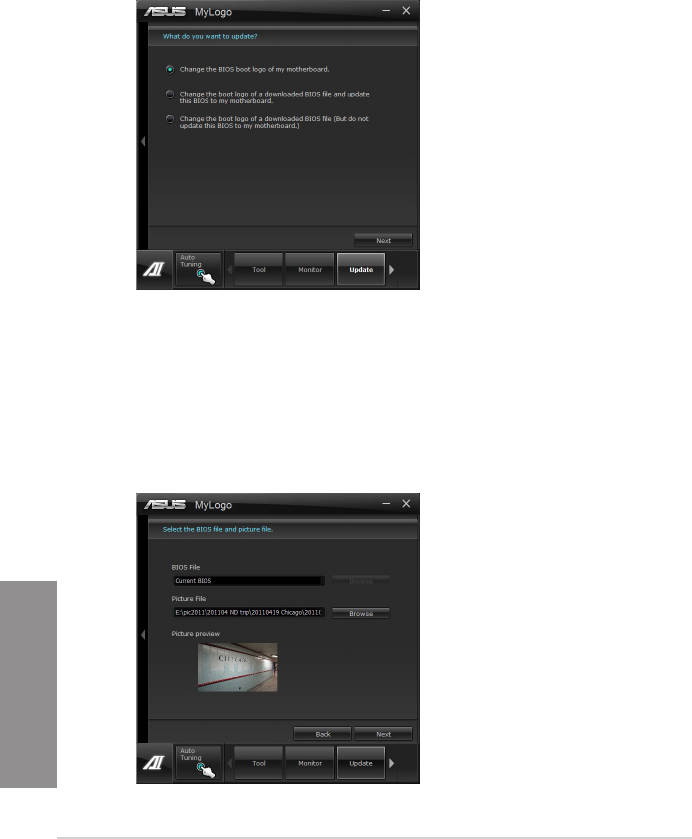
4.3.11 MyLogo2
This MyLogo utility lets you customize the boot logo. The boot logo is the image that appears
on screen during the Power-On-Self-Tests (POST). Personalize your computer from the very
beginning!
Launching ASUS Update
After installing AI Suite II from the motherboard support DVD, launch MyLogo by clicking
Update > MyLogo on the AI Suite II main menu bar.
Using MyLogo
Select the way you would like to do update your boot logo. Then click Next and follow the
given instructions.
Change the BIOS boot logo of my motherboard
1. Under Current BIOS, click Browse and choose the desired image for your boot logo.
Then click on Next.