
Troubleshooting guide


SECTION 2
INSTALLING THE PRINTER
5
SECTION 2 – Installing Printer
Before using Printer:
Choose a location for Printer
Plug in Printer and connect it to computer
Install Inkjet Cartridges
Set up feed on Printer
Install Printer Driver software on computer
Choose a Location
Printer should be placed on a sturdy worktable or cabinet at least 12 inches from any walls. Protect Printer from
excessive heat, dust, and moisture – avoid placing it in direct sunlight.
Connecting Printer
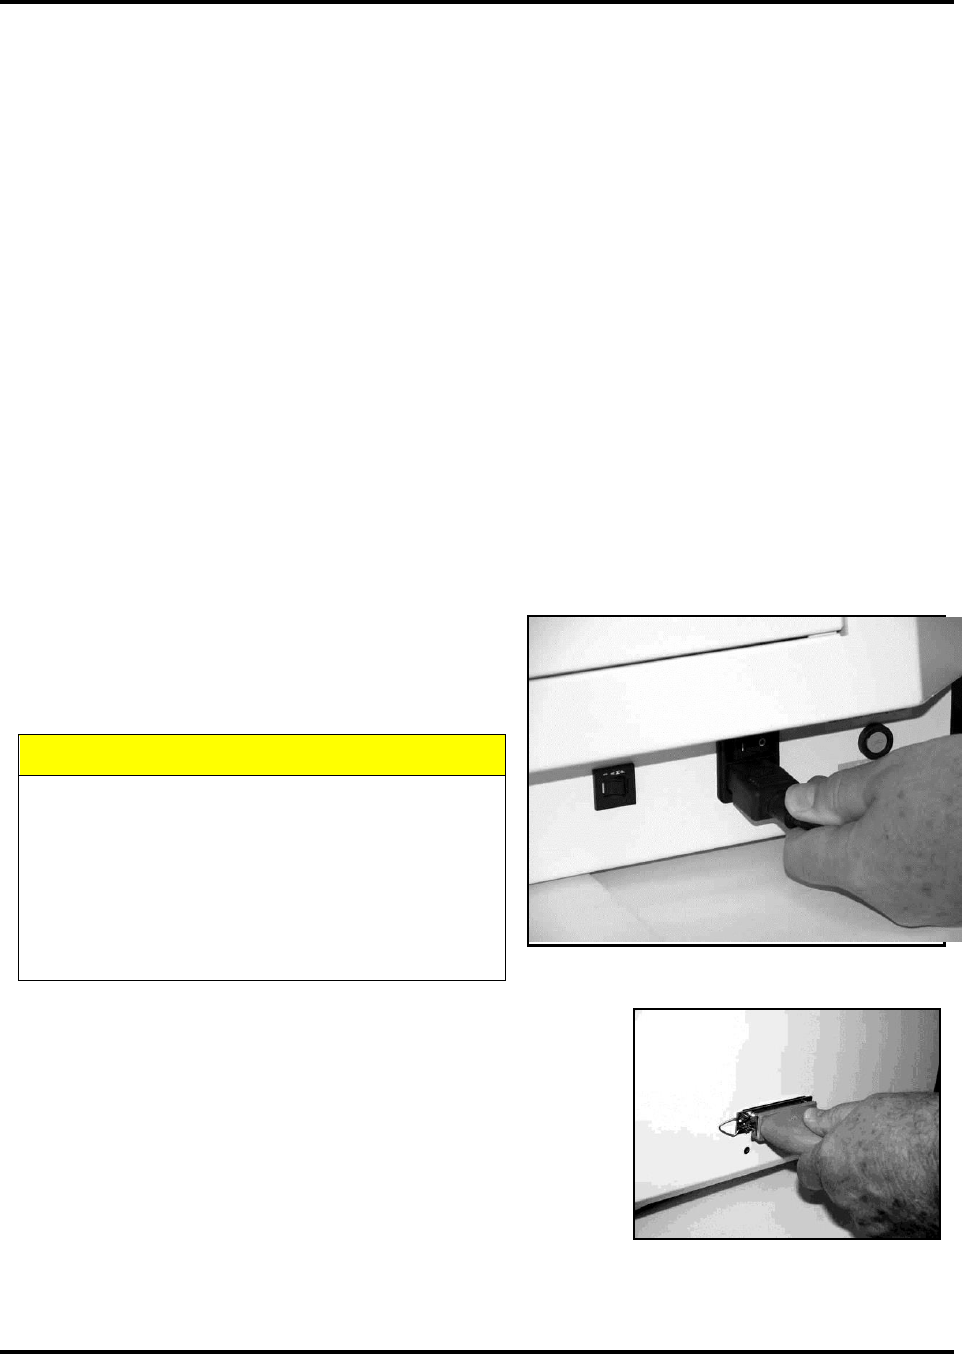
Plugging in Printer
Make sure that Printer Main Power Switch is turned OFF.
1. Connect one end of power cord into to rear receptacle
on Printer.
2. Depending on 115 volt or 220 volt, plug other end
into a 115 or 220 Volt AC, 50/60 Hz. grounded outlet.
CAUTION
DO NOT USE ADAPTER PLUGS OR
EXTENSION CORDS TO CONNECT THE
PRINTER TO THE WALL OUTLET.
DO NOT USE OUTLETS CONTROLLED BY
WALL SWITCHES.
DO NOT USE OUTLETS THAT SHARE THE
SAME CIRCUIT WITH LARGE ELECTRICAL
MACHINES OF APPLIANCES.
Connecting to Computer
Parallel Port: Plug Parallel Printer Cable from your computer into rear
receptacle on Printer. Latch two locking clips.
USB Port: Connect Printer through a USB connection if using Windows
ME, 2000, NT, or XP. Cable used to connect the Printer to computer
must not exceed 6 feet long.