
User`s guide


Table Of Contents
- Ascend Customer Service
- How to use this guide
- What you should know
- Documentation conventions
- How to use the on-board software
- Manual set
- Configuring WAN Connections
- Configuring IP Routing
- Introduction to IP routing on the Pipeline
- Managing the routing table
- Parameters that affect the routing table
- Static and dynamic routes
- Configuring static routes
- Specifying default routes on a per-user basis
- Enabling the Pipeline to use dynamic routing
- Route preferences
- Viewing the routing table
- Fields in the routing table
- Removing down routes to a host
- Identifying Temporary routes in the routing table
- Configuring IP routing connections
- Ascend Tunnel Management Protocol (ATMP)
- IP Address Management
- Connecting to a local IP network
- BOOTP Relay
- DHCP services
- Dial-in user DNS server assignments
- Local DNS host address table
- Network Address Translation (NAT) for a LAN
- Configuring IPX Routing
- How the Pipeline performs IPX routing
- Adding the Pipeline to the local IPX network
- Working with the RIP and SAP tables
- Configuring IPX routing connections
- Configuring the Pipeline as a Bridge
- Defining Filters and Firewalls
- Setting Up Pipeline Security
- Pipeline System Administration
- Pipeline 75 Voice Features
- IDSL Implementations
- APP Server utility
- About the APP Server utility
- APP Server installation and setup
- Configuring the Pipeline to use the APP server
- Using App Server with Axent SecureNet
- Creating banner text for the password prompt
- Installing and using the UNIX APP Server
- Installing and using the APP Server utility for DO...
- Installing and using the APP Server utility for Wi...
- Installing APP Server on a Macintosh
- Troubleshooting
- Upgrading system software
- What you need to upgrade system software
- Displaying the software load name
- The upgrade procedure
- Untitled
IP Address Management
Connecting to a local IP network
Pipeline User’s Guide Preliminary January 30, 1998 3-3
Assigning the Ethernet interface IP address
The Pipeline Ethernet interface must have a unique IP address that is consistent
with the addresses of other hosts and routers on the same network.
To assign the Pipeline an IP address on the Ethernet:
1
Open the Ethernet > Mod Config > Ether Options menu.
2
Enter the IP address for the Ethernet interface in IP Adrs.
For example:
IP Adrs=10.2.3.1
3
Close and save the profile.
After you have configured the IP address, you can Ping the Pipeline from a host
to verify that it is up and running on the network. (How to use the Ping command
is described in “Using Ping to verify the address” on page 3-6.)
Creating a subnet for the Pipeline
On a large corporate backbone, administrators often configure subnets to increase
the network address space, segment a complex network, and control routing in
the local environment. For example, suppose the main backbone IP network is
10.0.0.0, and supports a router at 10.0.0.17.
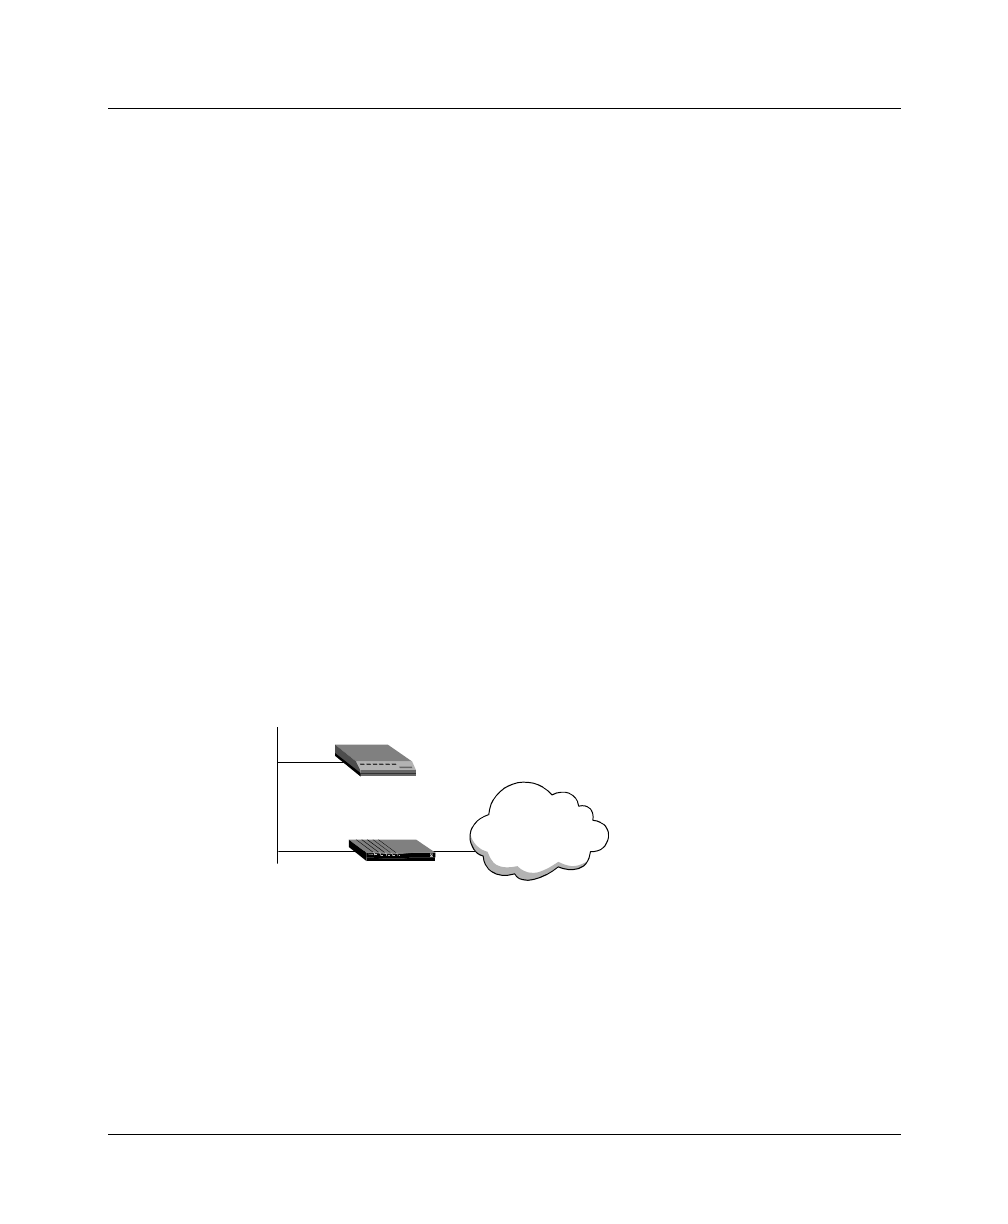
Figure 3-1. Creating a subnet for the Pipeline
You can place the Pipeline on a subnet of that network by entering a subnet mask
in its IP address specification, for example:
1
Open the Ethernet > Mod Config > Ether Options menu.
2
Enter the IP address for the Ethernet interface in the IP Adrs field.
For example:
WAN
10.0.0.0
10.0.0.17
10.2.3.1/24