
User's Manual
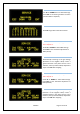
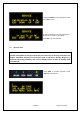
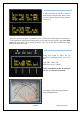
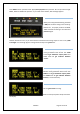
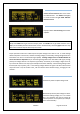
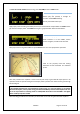
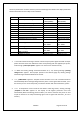
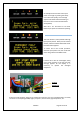
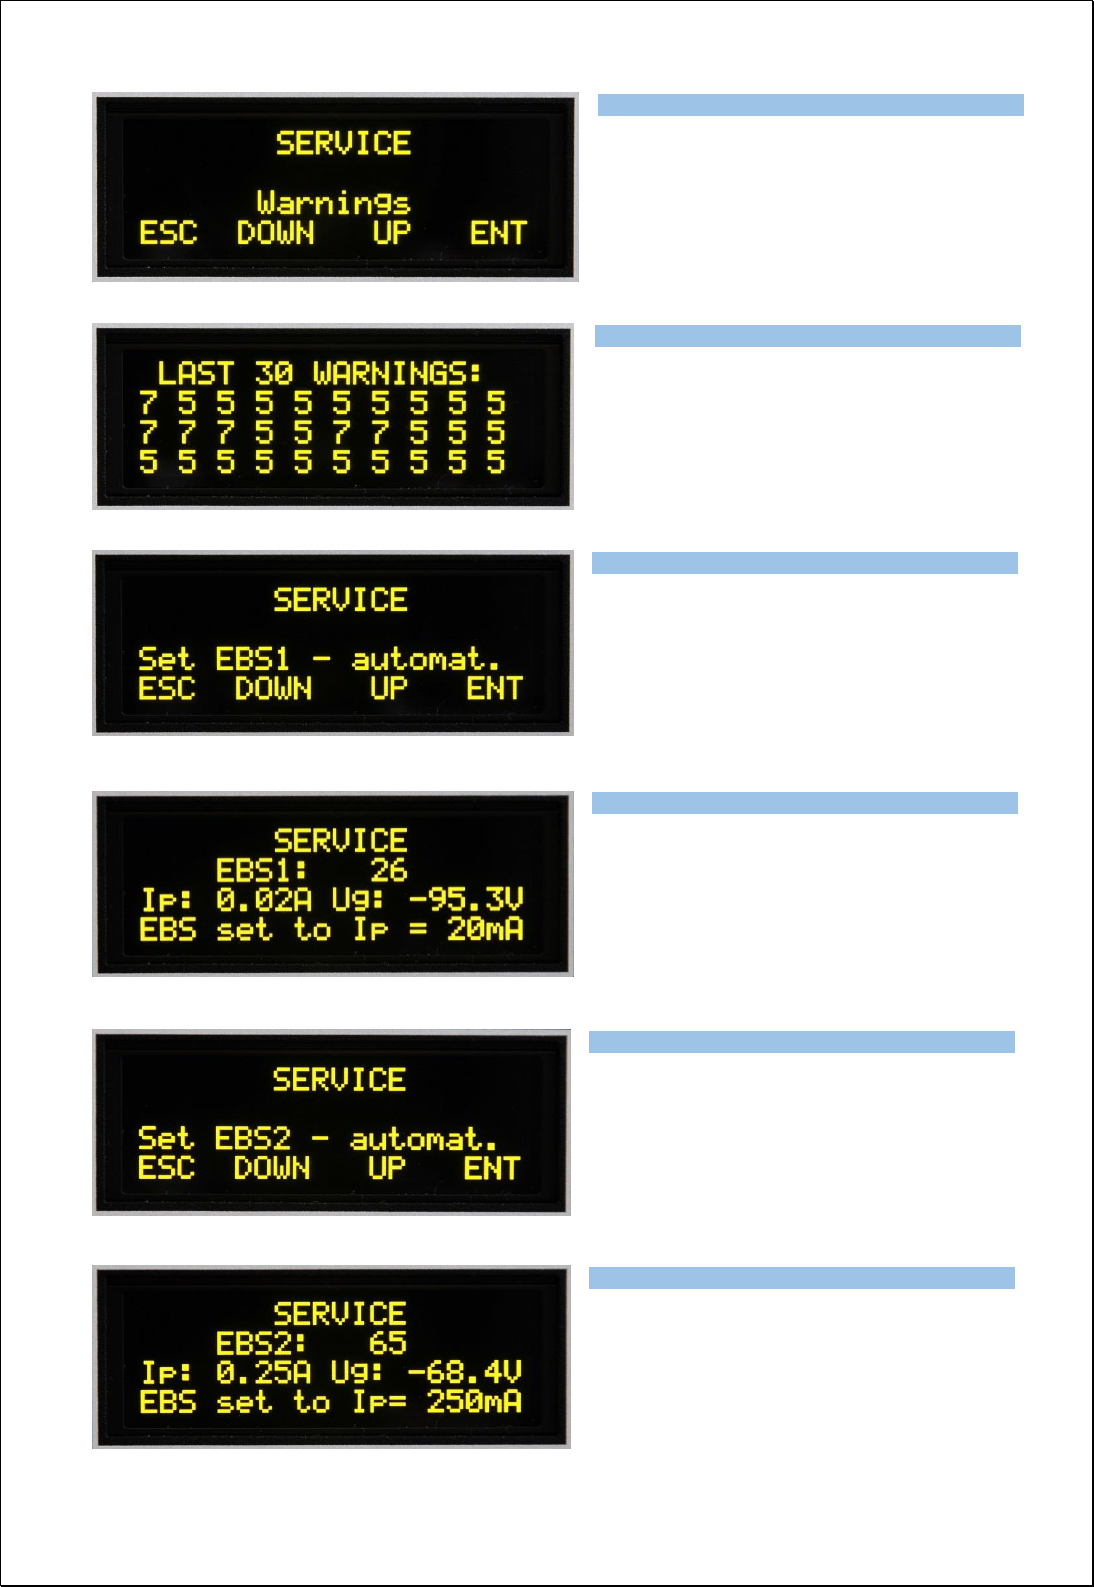
Exhibit 6 Page 21 from 35
Use UP or DOWN button to select Warnings.
Press ENT to see warning numbers or letters
(see the table in chapter 6).
Press ESC to go back to the Service menu.
Use this procedure after replacing the tube.
This is step No. 2.
Scroll UP or DOWN to select EBS1 settings.
Press ENT to start automatic adjustment of
EBS1 (20 mA).
Automatically increasing of the grid voltage
(decrease of the negative value) causes a
gradual increase in the plate current. In the
moment, when Ip reaches 20mA, adjustment
stops. Press ESC after stopping.
Use this procedure after replacing the tube.
This is step No. 3.
Scroll UP or DOWN to select EBS2 settings.
Press ENT to start automatic adjustment of
EBS2 (250 mA).
Automatically increasing of the grid voltage
(decrease of the negative value) causes a
gradual increase in the plate current. In the
moment, when Ip reaches 250mA, adjustment
stops. Press ESC after stopping.
Type of supported TCVR and working
frequency are visible on the display.
AUTO LED is ON.
Type of supported TCVR and working
frequency are visible on the display.
AUTO LED is ON.
Type of supported TCVR and working
frequency are visible on the display.
AUTO LED is ON.
Type of supported TCVR and working
frequency are visible on the display.
AUTO LED is ON.
Type of supported TCVR and working
frequency are visible on the display.
AUTO LED is ON.
Type of supported TCVR and working
frequency are visible on the display.
AUTO LED is ON.