
User Manual
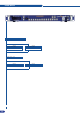

Output selection settings
Working with Native Matrix Mode
To set up the outputs, go in the Output #1 or Output #2 menu and choose rst the appropriate format/reso-
lution and then the appropriate rate for your screens by using the knob button and the Enter button.
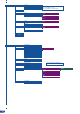
Output# → Output Format → Output rate
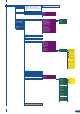
You can also in the Output #2 menu, synchronise all the changes from the Output #1 to the Output #2 by
checking the case Synch w/Out 1. It allows you to set up just one time your outputs.
Output #2 → Synch w/Out 1
Use the native resolution of your screens/projectors in order to obtain the best image quality.
* NOTE *: The output status can provide you all information about the output in real time. This feature is
particularly needed when HDCP is used thanks to the HDCP status.
*All changes have to be validating by pressing the OK button in order to be saved*
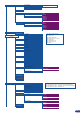
To activate the Native Matrix Mode:
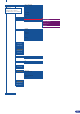
Mode Menu → Native Matrix Mode Menu
You’ll nd all menus from the mixer mode in the main menu except some specic matrix function
added.
To work with native matrix mode, it’s the same way than in the Mixer Mode except the fact that you
have to use the Matrix # buttons rst.
For instance, if you want to put the Frame #1 on the Output #1 and the Live Source #3 on the
Output #2:
Press Matrix #1 button → Press input #1
Press Matrix #2 button → Press input #3
Press Take to view the result on both screens
Don’t forget to press the correct Matrix # button before pressing the Layer selection button, in order
to be sure doing the manipulation on the correct output.
30