
User Manual
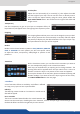
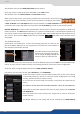
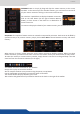

Once your preset is set up, you can store it into one of the 144 preset slots.
To do that, click on and choose the number corresponding to the slot
number.
Once saved, you can have access to memory detail,
simply click on it holding the shi buon. You can view
your preset and change the name.
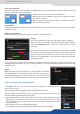
When you aempt to save a preset on an already sa-
ved slot, this message will appear:
In the same idea, if you want to recall an already saved preset, simply load
it using the buon on the right side of the Edit mode and select the
slot to load.
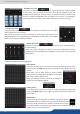
You can reset a preset using the reset buon. Using that, all sizes
and posions will be deleted. Your layers will be A0, B0, C0 and
D0. If the “Hide unused layers” buon is enabled and no more
layers are available, you sll have access to the layer selecon on the right,
thanks to the A, B, C and D buons.
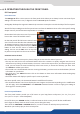
7.4.5 Preset load and save management
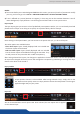
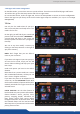
Add some transparency to a layer. Simply move the cursor corresponding to
the wanted layer.
Under each layer transparency cursor you have an automac increase/
decrease transparency buon which fades in or out your layer to the selected
transparency.
Using the strobe sengs, will allow you to play with the refresh rate of an input.
You will have access to 4 cursors.
Each cursor represents one layer. Increasing the cursor level, you will perform a
strobbing eect on the specied layer. At the boom of each cursor, a stop buon
allows you to stop immediately the eect.
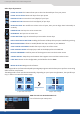
The mirror buon allows you to dene for each layer the way it will be copied
in the preset. You can choose to mirror the layer, ip the posion, or ip the
posion and the data from another screen. To access this feature, you rst need
to be in a hybrid conguraon with 2 Programs (see chapter: 7.3.4 Screens),
then into the Setup assistant, you need to acvate the “screen mirroring”.