
User Guide


Designing Touch Panel Pages
19
10.4" Touch Panels
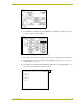
Resizing a button
1. Press
BUTTON on the Edit bar to open the BUTTON menu.
2. Press
RESIZE. Then, touch any edge of the button and drag. Removing your finger from the
panel saves the button dimensions.
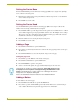
Defining On-Screen and External Button Properties
External pushbuttons are configured with features similar to on-screen buttons. Their functionality
can be set just as any other button on the touch panel.
Use the
PROPERTIES option of the BUTTON menu in the Edit bar to set button borders, page flips,
button colors for channel on/off conditions, channel/variable text codes, and string/macro
assignments.
External button properties include only the button type, page flips, channel codes, and string/macro
assignments. Although the Border and Color sections of this page appear, they are of no use to
external pushbuttons since they do not appear on-screen.
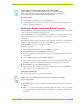
To set button properties:
1. Press
BUTTON on the Edit bar to open the BUTTON menu options.
2. Press
PROPERTIES to open the PROPERTIES operation bar.
3. Press the new button to open the Button Properties page. This page lists the properties for the
active button.
4. Press
BUTTON TYPE; this opens the BUTTON TYPE menu.
5. Choose a button type for the selected button to open the associated Button Properties page.
Each button type has its own Button Properties page with settings specific to the button.
6. Press
BORDER to open the BUTTON BORDER pages.
7. Select a border to set for the button and return to the Button Properties page. The
BORDER
button changes to show the selected border type.
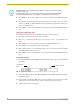
Setting the channel code
The channel button sets the device and button channel codes.
1. In the Button Properties page, press
DEV to open the keypad and set the touch panel’s device
number.
2. Enter 1, 2, 3, or 4 in the keypad. The programming software uses device codes 1 - 4 to identify
the touch panel. Refer to the G3 Firmware Design and Reference instruction manual for more
information.
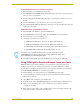
A Video signal can only be displayed within a Video WIndow Button.
From the Edit bar, go to Button > Add. Touch the screen to size the button. Open
Button > Properties and select Video Window from the Button Type section. Refer to
the G3 Firmware instruction manual for more detailed information.
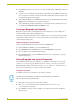
Channel codes and variable text codes work the same for all button types, including
joysticks, and bargraphs.