Installation lnstructions Select Series Consoles w w w . a m i c o .
Note Security console installation should conform to local building codes The installation instructions provided are for the Amico standard products. Slight modifications to the installations may be required. The product shipped to the job site may not be exactly as shown on the installation drawings. Before Installation 1. Review a copy of the final approved shop drawing(s) and/or submittal package.
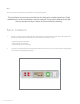
Installation 1. Remove gas cover plates and devices by loosening any screws. Place everything in a safe and clean location. 2. Remove the fascia by loosening the 2 screws (1 on each side) attaching it to the console. Place everything in a safe and clean location. www.amico.
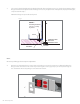
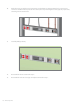
3. The console should be flush with the finished drywall after installation (see Fig. 1). Check the positioning of the flanges to determine if adjustment of the flanges is necessary. If adjustment is not required, skip steps 4 through 8, and proceed with step 9. NOTE: The flanges are preset for 5/8” drywall. Fig 1 NOTE 1: Mounting hardware (rivets or screws) by others STUD CONSOLE BOX END CAP CONSOLE BOX FLANGE DRYWALL NOTE: Go to step 9 if flanges do not require adjustment 4.
. Remove any devices that are blocking access to the flange crews. Place everything in a safe and clean location. 6. Loosen the 2 flange screws and make necessary adjustments on both sides. 7. Replace the devices removed in step 5. 8. Replace the aluminum device covers removed in step 4. 9. Mount the console box by using rivets or screws to attach the flanges (2 on each side) to the studs (See Fig. 1, NOTE 1). See architectural drawings for mounting heights.
10. Make all on-site gas and electrical connections, and perform any wiring required. If it is necessary to remove an aluminum device plate to wire a device, do so by loosening the screws (typically 2 per cover) attaching it to the console box. 11. Install drywall (by others). 12. Reassemble the fascia removed in step 2. 13. Reassemble the electrical and gas cover plates removed in step 1.
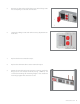
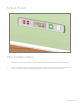
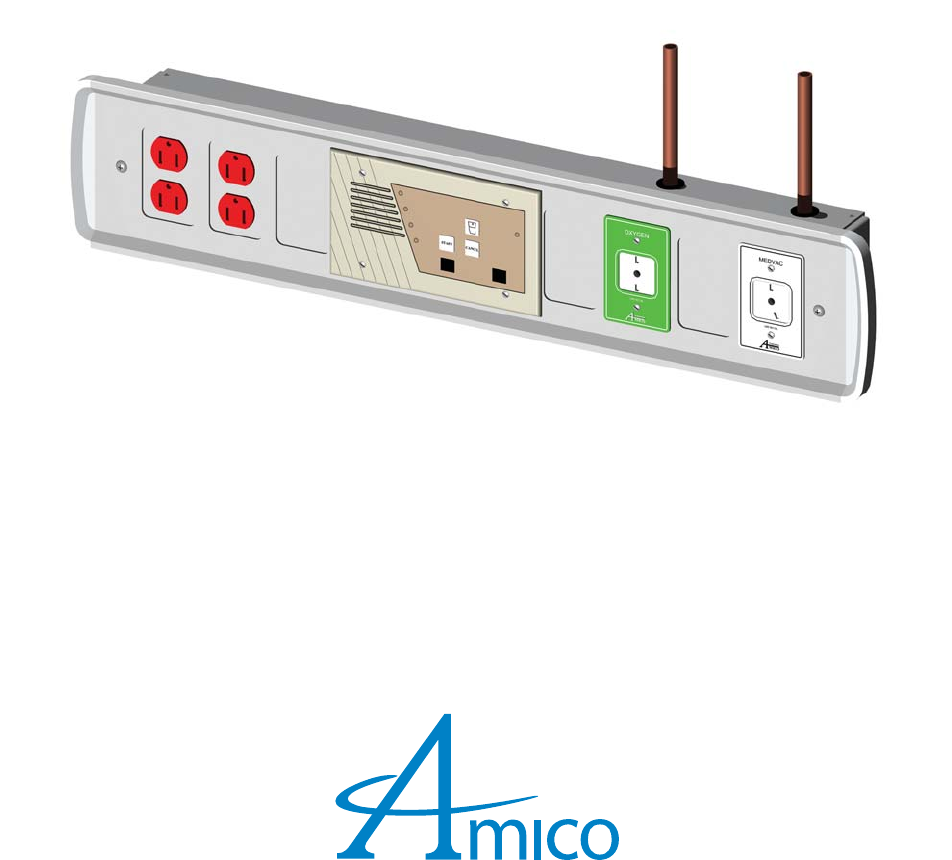
Finished Product Other Installation Notes 1. Division 15 to connect gas stubs on console to building medical gas supply lines previously roughed in. 2. Division 16 to feed electrical conduits through top or back of consoles into ceiling space for connection to normal, emergency and low voltage boxes provided in ceiling space by division 16 contractor. www.amico.
www.amico.com Amico Pipeline | www.amico.com 85 Fulton Way, Richmond Hill Ontario, L4B 2N4, Canada 71 East Industry Court, Deer Park NY 11729, U.S.A Toll Free Tel: 1.877.264.2697 Toll Free Fax: 1.866.440.4986 Tel: 905.763.7778 Fax: 905.763.8587 Email: info@amico.