
Installation guide
IPDP - installation and operating instructions
24
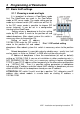
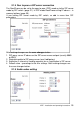
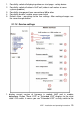
3. Setting IP address, mask, eventually next network parameters, in case
obscurity contact his IT manager
4. Display actual mode of IPDP – day / night
5. Return on introductory WEB site with display videos from cameras IPDP
6. short help for quick assistance in setting the parameters1 –
7. Default value – presetings to the firm settings. After making changes click
on a save and restart button (display screen - see page 29).
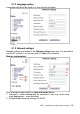
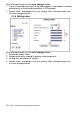
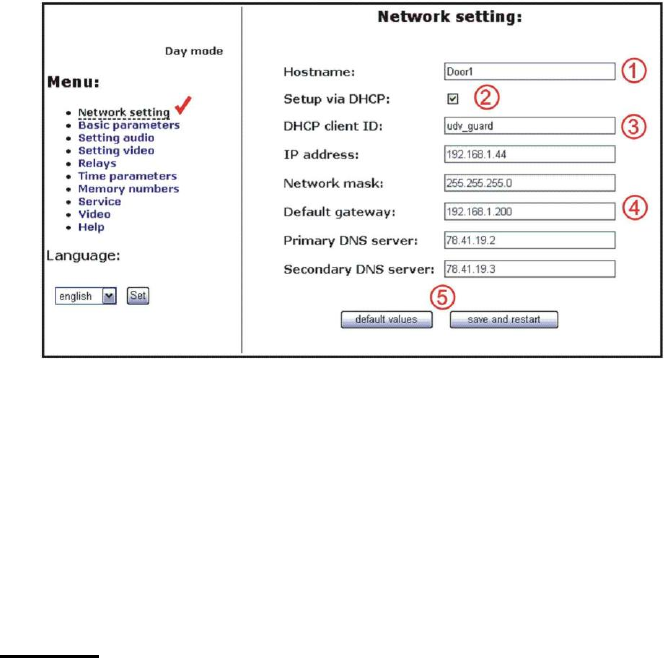
DHCP configuration:
After making changes click on a save and restart button.
1. Hostname – name of doorphone for resolution in nets (e.g . while using
more doorphones – more entrance)
2. Enable/disable ethernet settings via DHCP
3. DHCP client ID is name, which using for assigning two IP address to only
thing the MAC address (in IPDP porter has meaning as far as will be
including internal SIP server)
4. display parameters automatically assign by DHCP - IP address and next
setting
5. Default value – presetings to the firm settings. After making changes click
on a save and restart button (display screen - see page 29).
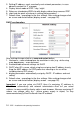
Important: if you use setup via DHCP, then it‘s assigning IP address to
DoorPhone automatically and network administrator must tell you actual
address, to was possibility display video in web browser. Because assigning IP
adress can change after e.g . failure power supply in object, so they
recommended enjoy DoorPhone with fixed IP address.