
Operation Manual


ML5000 User Guide 43
Channel Safes Explained
A channel is referred to as being made ‘safe’ when
it is protected from being overwritten or affected by
an automated process.
Selected channels can be made safe from either
the automation or the solo-in-place (SIP) systems.
Channels made ‘automation safe’ are not
overwritten by the snapshots and MIDI messages.
This is useful when channel allocations are
changed ‘on the fly’ during a pre-programmed
show. Channels made ‘solo safe’ are not muted
when SIP is actioned, for example selected outputs
and effects returns. Input and outputs can be
made safe.
M1 EDIT SAFES. Press this switch to enter edit
safes mode. The red LED flashes to warn that you
are in edit mode. When entered from normal
console operating mode it lets you make selected
channels safe from the snapshot/MIDI automation.
When entered from SIP mode it lets you make
selected channels safe from the solo-in-place.
Making a Channel Automation Safe
From normal console mode press EDIT SAFES M1
The red LED flashes. Now press the mute switches
on the channels you want to make safe or restore to
automation. The channel SAFE/EDIT LED lights if
the channel is safe. Press EDIT SAFES again to
return to normal console mode.
To clear all channels made safe
It is useful to be able to clear all safes when you are
starting a new session. This can be done without
having to check each channel individually.
While in edit safes mode, hold down SHIFT M9
and press RECALL M7 . The recall switch flashes
and the display flashes CLr. Release shift and
press RECALL again to confirm. All channel
SAFE/EDIT LEDs turn off indicating that all safes
are cleared.
To make all channels safe
You may want to use the automation to affect just a
few channels. In this case you can start by making
all channels safe and then remove those you want
to be automated. This affects inputs and outputs.
While in edit mode, hold down SHIFT M9 and
press RECALL M7 two times until the display
flashes SEt. Release shift and press RECALL
again to confirm. All channel SAFE/EDIT LEDs turn
on indicating that all channels are assigned.
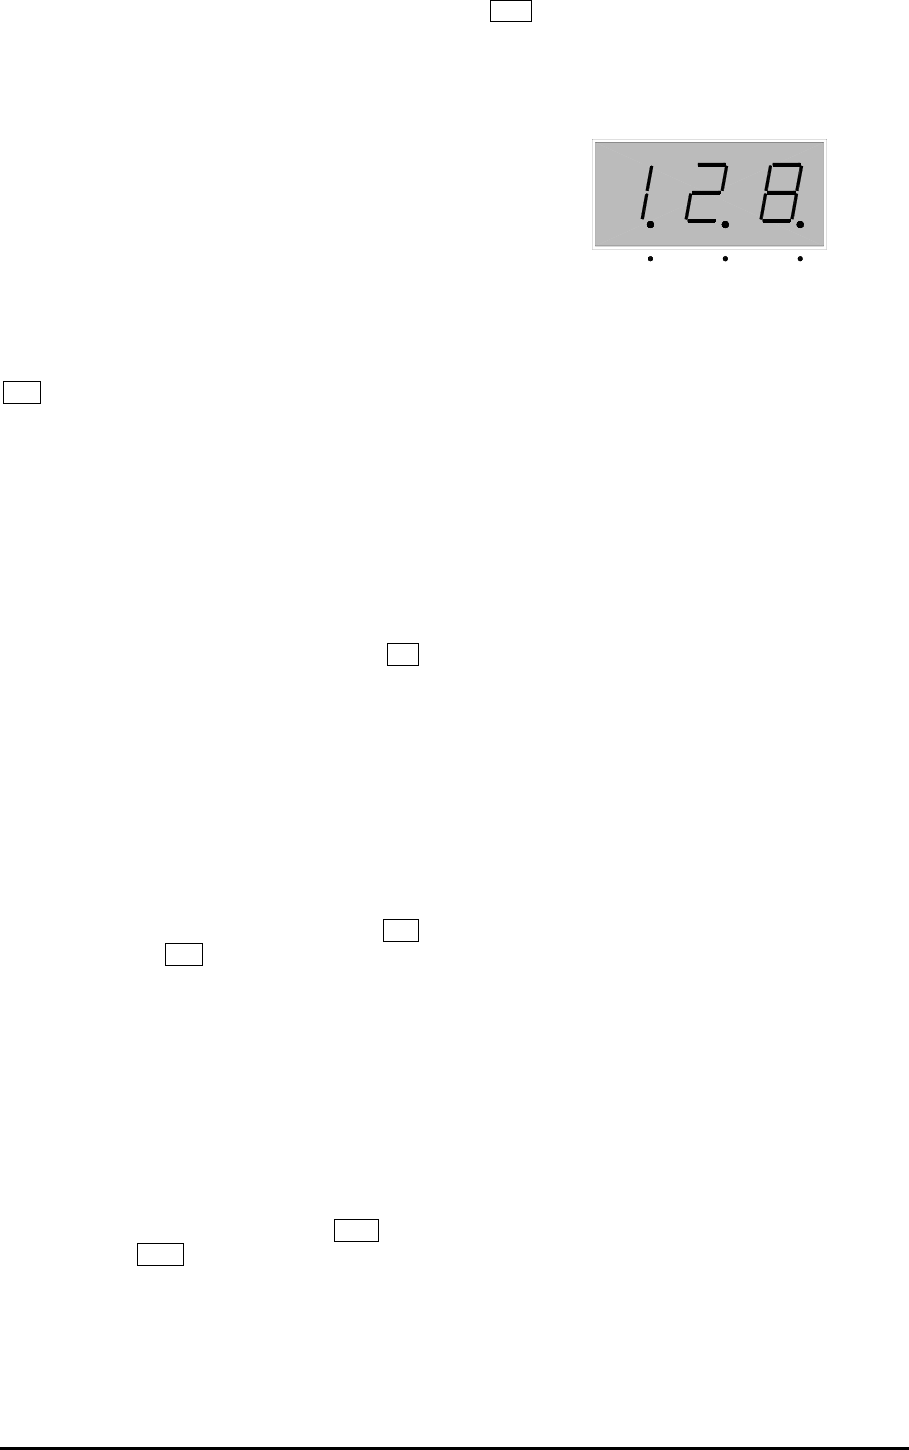
M3 The DISPLAY. The 3-digit LED display
normally shows the snapshot memory number. It is
also used to display the MIDI channel number and
other information depending on function.
MIDI dot. This lights when the rear switch is set for
MIDI and data is being received on the console
MIDI channel. It also lights during a MIDI dump out
and when selecting the MIDI channel number to
confirm that the rear switch is correctly set for MIDI.
RS232 dot. This lights when the rear switch is set
for RS232 and data is being received. It also lights
during dump out and when attempting to set the
MIDI channel number while the rear switch is set for
RS232.
STATUS dot. This shows the relationship between
the console current settings and the displayed
memory number as follows:
Dot on The displayed number is the last memory
recalled and the current settings are the same as
the memory contents.
Dot off The displayed number is the last memory
recalled but the settings have changed and are not
the same.
Dot flashing The displayed number is not the
same as the last memory recalled. This is the case
when you scroll to a different number, or when ‘auto
increment’ is active with the number always
advancing after a recall.
Snapshot number. The number scrolls up or
down from 1 to 128. It wraps around at either end.
MIDI channel number. Wraps around 1 to 16.
Version number. Displays the console operating
code version number briefly on power up.
CLr SEt. Clear, set all function
On OFF. Store, auto increment functions
dPo dPI. MIDI data dump in/out
Er#. MIDI receive error (# = error number)
STATUSMIDI RS232