
User manual


Table Of Contents
- Contents
- Package Contents
- Camera Unit Pack
- Accessory Pack
- Introduction
- Features and advantages
- System Introduction
- Hardware Installation
- Camera Setting from a Router
- Enter the Main Page
- Camera Main Page
- Basic Settings
- Basic Setting > System (System info)
- Basic Setting >Video/Image
- Basic Setting > Audio (Sound)
- Basic Setting > User(User)
- Basic Setting > Network (Network Settings)
- Basic Setting > Network > Network (cable network setting page)
- Basic Setting > Network > Streaming (streaming Setting)
- Basic Setting > Network > PPPoE (dial-up networking setting)
- Basic Setting > Network > DDNS (Dynamic Domain Name Server Setting)
- Basic Setting > Network > UPnP (Universal Plug and Play)
- Basic Setting > Network > SMTP Server (mail server setting)
- Basic Setting > Network > Samba
- Basic Setting >\ Network >\ Multicast
- Basic Setting > Date/Time (date/time setting)
- Basic Setting > IP Filter
- Application Setting > Event (event trigger setting page)
- Application Setting > Firmware upgrade
- Application Setting > Factory Default
- Application Setting > Reboot
- Attachment A: External Alarm
- Attachment C: Troubleshooting and FAQs
- FCC Class B Announcement
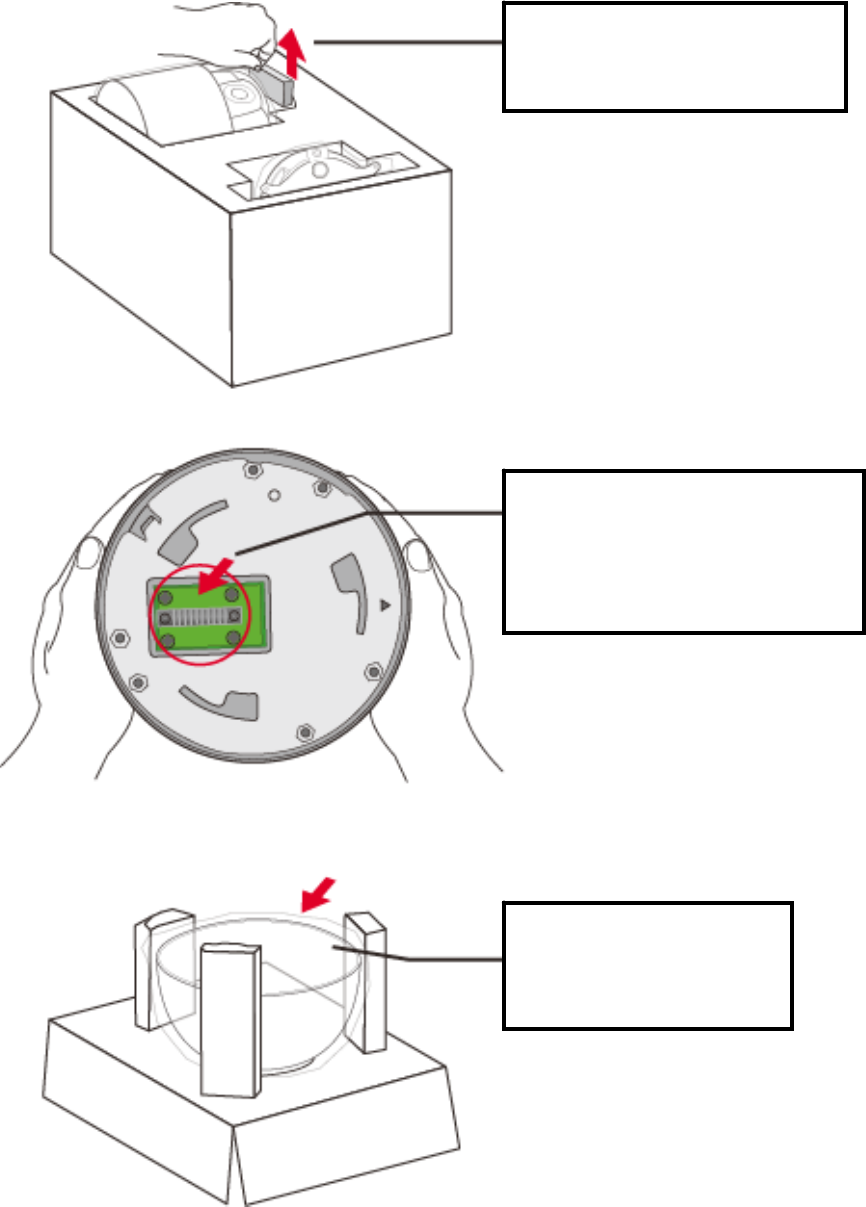
Notice for unpacking
Take out the lens protection pad for
easier removal of the PTZ Dome
Camera from the box.
Do not put the equipment on a firm
surface, or the protruding metal
connector beneath the camera will be
damaged. It is recommended to keep the
camera in the package box before the
installation be
g
ins.
Take out the items from the
accessory pack, but do not
remove the outer packaging of
the optical cover.
Ceiling Installation Procedure
12