
Manual
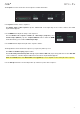
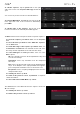
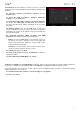
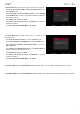
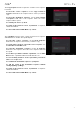
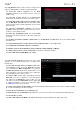
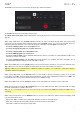
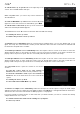
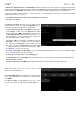

Table Of Contents
- Table of Contents
- Introduction
- Features
- Tutorial / Basic Concepts
- Operation
- General Features
- Modes
- Appendix

78
To edit the track, tap the pencil icon on the right edge of the
section. The Track Edit window will open.
While using MIDI tracks, you can use any of these functions as
described below.
To return to Main Mode, tap Cancel or the left arrow () in the
upper-left corner of the touchscreen. Alternatively, press Main.
To edit the name of the track, tap the top of the touchscreen
and use the virtual keyboard that appears.
The Clear function erases all events from the track and resets all of its settings.
To confirm your choice, tap Clear.
To return to the previous screen, tap Cancel.
The Explode function immediately splits the current track into multiple tracks—one for each distinct pad or note
(pitch, not event). The current track also remains present and intact, while each track created from it is labeled with
the track name and pad name or number.
The Double-Speed Events function immediately halves the lengths of all note events on the track as well as the
distance between them. In other words, the track’s notes are pressed closer together so the track sounds like it is
playing at twice the previous speed. This does not actually affect the pitches of notes or the tempo.
The Half-Speed Events function immediately doubles the lengths of all note events on the track as well as the
distance between them. In other words, the track’s notes are spread further apart so the track sounds like it is
playing at half of the previous speed. This does not actually affect the pitches of notes or the tempo.
The Copy Track function copies the contents of one track to
another.
To select the “source” track, tap the Copy Contents of
Track field. This is the track whose events you want to copy.
To select the “destination” track, tap the Over Contents of
Track field. This is the track where the source track will be
copied.
To confirm your choice, tap Do It.
To cancel and return to Main Mode, tap Cancel.
The Bounce to Sample function immediately renders the track (for the current sequence only) as an audio sample
and places it in the project’s sample pool. By default, it will be named Bounce - and appended with the track name.
This function does not work for tracks that use MIDI programs or CV programs.
If you have already used this function on this track, then you will be asked if you want to overwrite the existing
sample with this new one or cancel.
To continue and save the track over the existing one, tap Replace.
To cancel, tap Cancel.