
User's Manual


Table Of Contents
- INTRODUCTION
- WARNINGS AND CAUTIONS
- DECLARATION OF CONFORMITY
- FCC INTERFERENCE STATEMENT
- SYSTEM OVERVIEW
- INSTALLATION PREREQUISITES
- PHYSICAL DESCRIPTION
- CABLING
- MOUNTING
- OPTIMIZING RF RECEPTION
- CONNECTING THE EXTERNAL ANTENNA
- REPLACING THE CLIP-ON ANTENNA
- EASYST SMART CARD
- RESETTING EASYST TO DEFAULT SETTINGS
- TROUBLESHOOTING
- TRADEMARKS AND COPYRIGHTS
- CONTACT INFORMATION
- REVISIONS
- WARNINGS
- GLOSSARY
- INDEX
27
MOUNTING
Warning: EasyST is an indoor unit and therefore, must be mounted only indoors.
EasyST is a self-install indoor unit, requiring no professional technician. EasyST must be mounted
indoors in a location that provides:
High quality RF reception with the Internet service provider (i.e. base station)
Accessibility to power supply and LAN network with regards to cable lengths
The mounting options of the EasyST depend on the antenna configuration:
EasyST with clip-on antenna: mounted horizontally on a desktop
EasyST with window-mount external antenna:
o Horizontally on a desktop
o Vertically on a wall
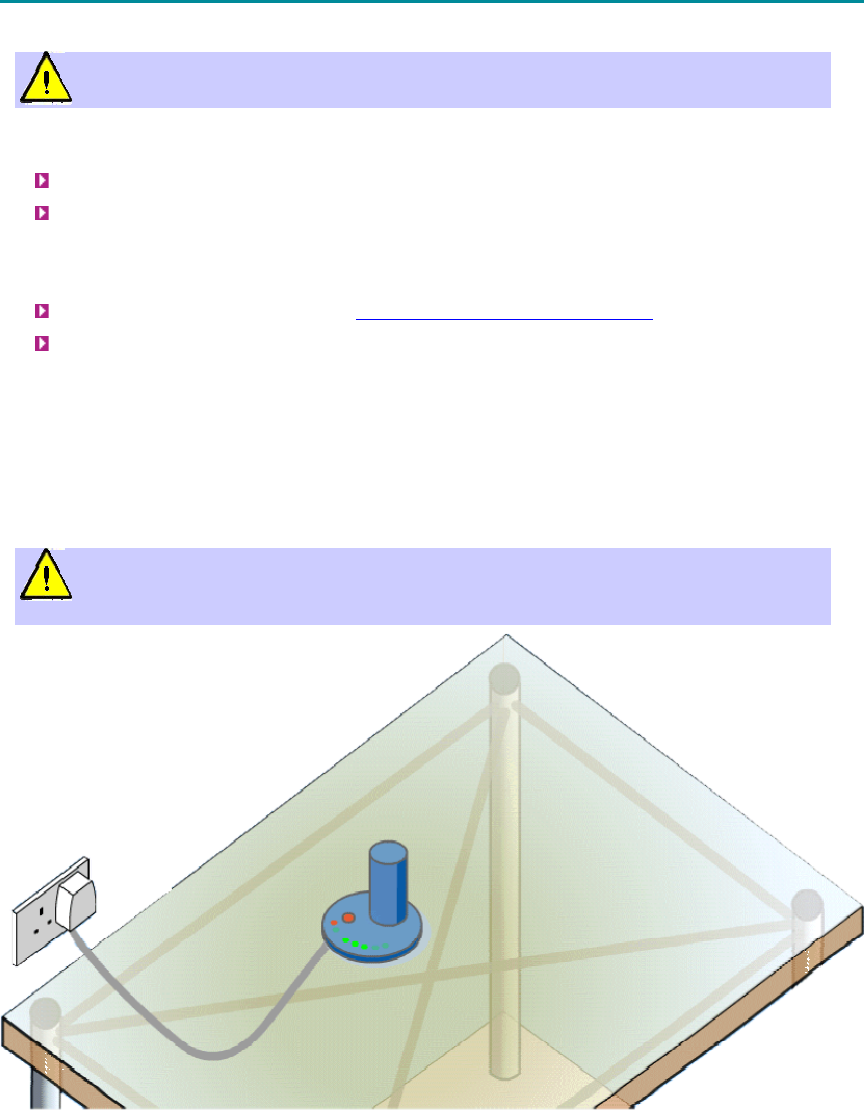
Desktop Mounting
The EasyST can be simply placed horizontally on a desk/table (as shown in the figure below). The
EasyST radio provides integrated rubber feet (pads) on the bottom panel. These rubber feet provide
cushioning as well as insulation from static electricity.
Warning: To prevent a fire hazard caused by overheating, do not place the EasyST on
a carpeted surface where airflow is restricted.
Wall Mounting
When EasyST implements the window-mount external antenna (i.e. no clip-on antenna), the EasyST
can be mounted either on a desk (i.e. desktop mounting) or a wall. For mounting to a wall, the
EasyST provides two mounting hooks molded into EasyST's bottom panel, as shown below: