
User`s guide


Table Of Contents
- Agilent U1231A, U1232A, and U1233A Handheld Digital Multimeter
- Table of Contents
- List of Figures
- List of Tables
- Introduction
- Making Measurements
- Multimeter Features
- Multimeter Setup Options
- Using the Setup Menu
- Setup Menu Summary
- Setup Menu Items
- Changing the variation count
- Enabling and changing the Smooth refresh rate
- Enabling and changing the voltage alert level
- Changing the beep frequency
- Changing the auto power-off (APO) timeout
- Changing the LCD backlight timeout
- Adjusting the LCD backlight intensity
- Enabling the LED flashlight timeout
- Adjusting the LED flashlight intensity
- Changing the minimum measurable frequency
- Changing the continuity test alerts
- Changing the power-on greeting tone
- Resetting the Setup items
- Changing the scale conversion value
- Enable the AC/DC mV measurement
- Enable open continuity test by default
- Changing the temperature unit
- Characteristics and Specifications
Making Measurements 2
Measuring Frequency
U1231A/U1232A/U1233A User’s Guide 63
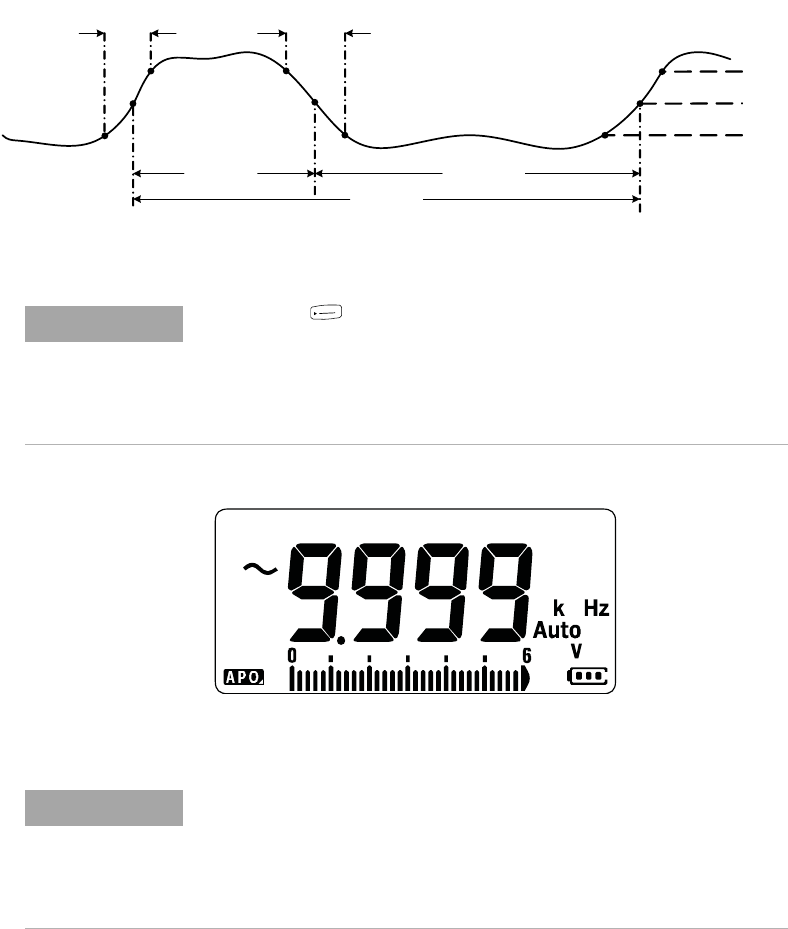
Figure 2-26 Frequency definition
Figure 2-27 Frequency display
Rise Time Fall Time
+ Width – Width
Period
90%
50%
10%
NOTE
• Pressing controls the input range of the primary function (voltage
or ampere) and not the frequency range.
• The frequency of the input signal is shown in the primary display, and
the bar graph does not indicate the frequency value but indicates the
voltage or ampere value of the input signal.
A
u
t
o
R
a
n
g
e
NOTE
Observe the following measurement techniques:
• If a reading shows as 0 Hz or is unstable, the input signal may be below
or near the trigger level. You can usually correct these problems by
manually selecting a lower input range, which increases the sensitivity
of the multimeter.