
User`s guide


Table Of Contents
- Agilent U1231A, U1232A, and U1233A Handheld Digital Multimeter
- Table of Contents
- List of Figures
- List of Tables
- Introduction
- Making Measurements
- Multimeter Features
- Multimeter Setup Options
- Using the Setup Menu
- Setup Menu Summary
- Setup Menu Items
- Changing the variation count
- Enabling and changing the Smooth refresh rate
- Enabling and changing the voltage alert level
- Changing the beep frequency
- Changing the auto power-off (APO) timeout
- Changing the LCD backlight timeout
- Adjusting the LCD backlight intensity
- Enabling the LED flashlight timeout
- Adjusting the LED flashlight intensity
- Changing the minimum measurable frequency
- Changing the continuity test alerts
- Changing the power-on greeting tone
- Resetting the Setup items
- Changing the scale conversion value
- Enable the AC/DC mV measurement
- Enable open continuity test by default
- Changing the temperature unit
- Characteristics and Specifications
Introduction 1
Preparing Your Multimeter
U1231A/U1232A/U1233A User’s Guide 5
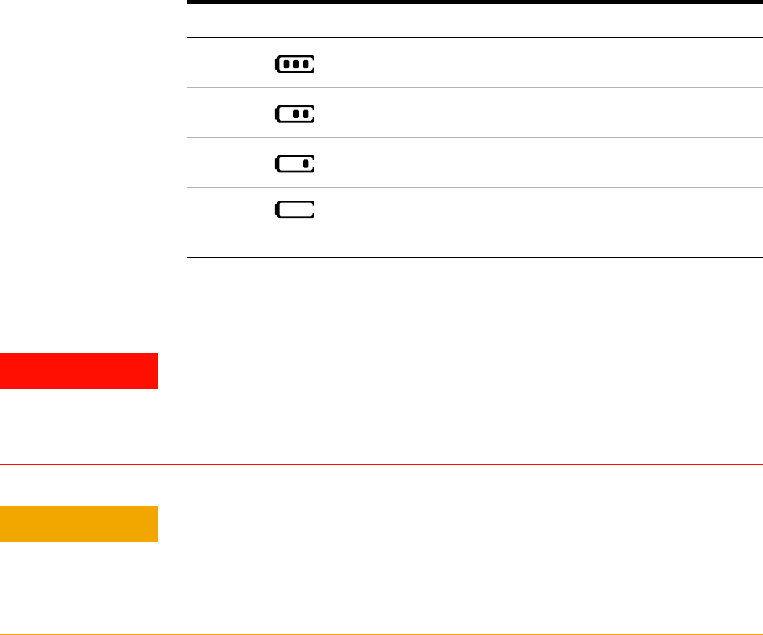
Table 1 - 1 Battery level indicator
Indication Battery capacity
Full capacity
2/3 capacity
1/3 capacity
(Flashing periodically)
Almost empty
[1]
[1] Batteries change advised. Always use the specified battery type listed in
page 102.
WARNING
To avoid false readings, which could lead to possible electric shock
or personal injury, replace the batteries as soon as the low battery
indicator appears. Do not discharge the batteries by shorting the
batteries or reversing the batteries polarity.
CAUTION
To avoid instruments being damage from battery leakage:
• Always remove dead batteries immediately.
• Always remove the batteries and store them separately if the
multimeter is not going to be used for a long period.