
Technical data


Table Of Contents
- Agilent 3000 Series Oscilloscopes-At a Glance
- In This Book
- Contents
- Figures
- Tables
- Getting Started
- Step 1. Inspect the package contents
- Step 2. Turn on the oscilloscope
- Step 3. Load the default oscilloscope setup
- Step 4. Input a waveform
- Step 5. Become familiar with the Front Panel Controls
- Step 6. Become familiar with the oscilloscope display
- Step 7. Use Auto-Scale
- Step 8. Compensate probes
- Step 9. Use the Run Control buttons
- Displaying Data
- Capturing Data
- Making Measurements
- Saving, Recalling, and Printing Data
- Oscilloscope Utility Settings
- Specifications and Characteristics
- Service
- Safety Notices
- Index
Getting Started 1
Agilent 3000 Series Oscilloscopes User’s Guide 29
Step 7. Use Auto-Scale
The oscilloscope has an auto- scale feature that automatically sets the
oscilloscope controls for the input waveforms present.
Auto-scale requires waveforms with a frequency greater than or equal to
50 Hz and a duty cycle greater than 1%.
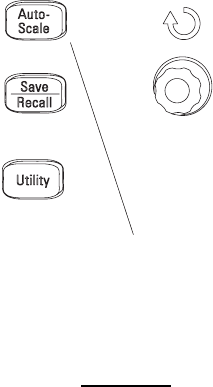
1 Press Auto-Scale
.
The oscilloscope turns on all channels that have waveforms applied and
sets the vertical and horizontal scales appropriately. It also selects a
time base range based on the trigger source. The trigger source selected
is the lowest numbered channel that has a waveform applied.
Figure 6 Auto-Scale Button