
User's Manual
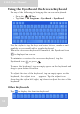
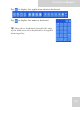
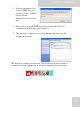
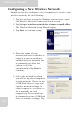
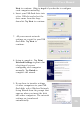
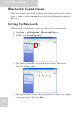
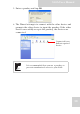
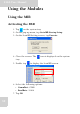
Table Of Contents
- Table of Contents
- Preface
- Safety Instructions
- Rugged and Ready to Go
- Getting Started
- Installing the Rubber Bumpers
- Removing the Rubber Bumpers
- Using the Power Switch
- Inserting a Memory Card
- Removing a Memory Card
- Installing a 3G SIM Card
- Removing 3G SIM Card (optional)
- Installing a WWAN Module (optional)
- Installing an MSR (optional)
- Installing a 1D Barcode Scanner (optional)
- Installing an RFID (optional)
- Upgrading Components
- Making Connections
- Turning On
- Wireless Connections
- Using the Modules
- Using the Fingerprint Software
- Advanced Settings
- Troubleshooting
- Appendix

S10A User Manual
31
Using the EyesBoard On-Screen Keyboard
Do any of the following to bring up the on-screen keyboard.
• Press
the SIP key.
• Tap Start > All Programs > EyesBoard > EyesBoard.
Use the stylus to tap the keys and enter letters, numbers and
symbols as you would with a regular keyboard.
When the on-screen keyboard is launched, the Eyesboard icon
is displayed on screen.
To minimize or restore the on-screen keyboard, tap the
Eyesboard icon or press .
To move the keyboard, tap an empty space on the keyboard and
drag to your desired location.
To adjust the size of the keyboard, tap an empty space on the
keyboard, the adjust icon appears. Tap the adjust icon ,
then drag the stylus left/right, up/down to adjust the size of the
keyboard.
Other Keyboards
Tap to display the function keyboard.