Operation Manual
Table Of Contents
- Contents
- Chapter 1: Getting started
- Chapter 2: Digital audio fundamentals
- Chapter 3: Workflow and workspace
- Chapter 4: Setting up Adobe Audition
- Chapter 5: Importing, recording, and playing audio
- Chapter 6: Editing audio files
- Displaying audio in Edit View
- Selecting audio
- Copying, cutting, pasting, and deleting audio
- Visually fading and changing amplitude
- Working with markers
- Creating and deleting silence
- Inverting and reversing audio
- Generating audio
- Analyzing phase, frequency, and amplitude
- Converting sample types
- Recovery and undo
- Chapter 7: Applying effects
- Chapter 8: Effects reference
- Amplitude and compression effects
- Delay and echo effects
- Filter and equalizer effects
- Modulation effects
- Restoration effects
- Reverb effects
- Special effects
- Stereo imagery effects
- Changing stereo imagery
- Binaural Auto-Panner effect (Edit View only)
- Center Channel Extractor effect
- Channel Mixer effect
- Doppler Shifter effect (Edit View only)
- Graphic Panner effect
- Pan/Expand effect (Edit View only)
- Stereo Expander effect
- Stereo Field Rotate VST effect
- Stereo Field Rotate process effect (Edit View only)
- Time and pitch manipulation effects
- Multitrack effects
- Chapter 9: Mixing multitrack sessions
- Chapter 10: Composing with MIDI
- Chapter 11: Loops
- Chapter 12: Working with video
- Chapter 13: Creating surround sound
- Chapter 14: Saving and exporting
- Saving and exporting files
- Audio file formats
- About audio file formats
- 64-bit doubles (RAW) (.dbl)
- 8-bit signed (.sam)
- A/mu-Law Wave (.wav)
- ACM Waveform (.wav)
- Amiga IFF-8SVX (.iff, .svx)
- Apple AIFF (.aif, .snd)
- ASCII Text Data (.txt)
- Audition Loop (.cel)
- Creative Sound Blaster (.voc)
- Dialogic ADPCM (.vox)
- DiamondWare Digitized (.dwd)
- DVI/IMA ADPCM (.wav)
- Microsoft ADPCM (.wav)
- mp3PRO (.mp3)
- NeXT/Sun (.au, .snd)
- Ogg Vorbis (.ogg)
- SampleVision (.smp)
- Spectral Bitmap Image (.bmp)
- Windows Media Audio (.wma)
- Windows PCM (.wav, .bwf)
- PCM Raw Data (.pcm, .raw)
- Video file formats
- Adding file information
- Chapter 15: Automating tasks
- Chapter 16: Building audio CDs
- Chapter 17: Keyboard shortcuts
- Chapter 18: Digital audio glossary
- Index

ADOBE AUDITION 3.0
User Guide
199
Allow Vertical Fade Adjustments Enables you to adjust fade curves. Disable this option if you’re inadvertently
adjusting these curves when attempting to perform other tasks, such as editing volume or pan envelopes.
Automatically Crossfade Crossfades overlapping clips. Deselect this option if automatic crossfades are undesirable
or interfere with other tasks, such as trimming clips.
Crossfade clips in separate tracks
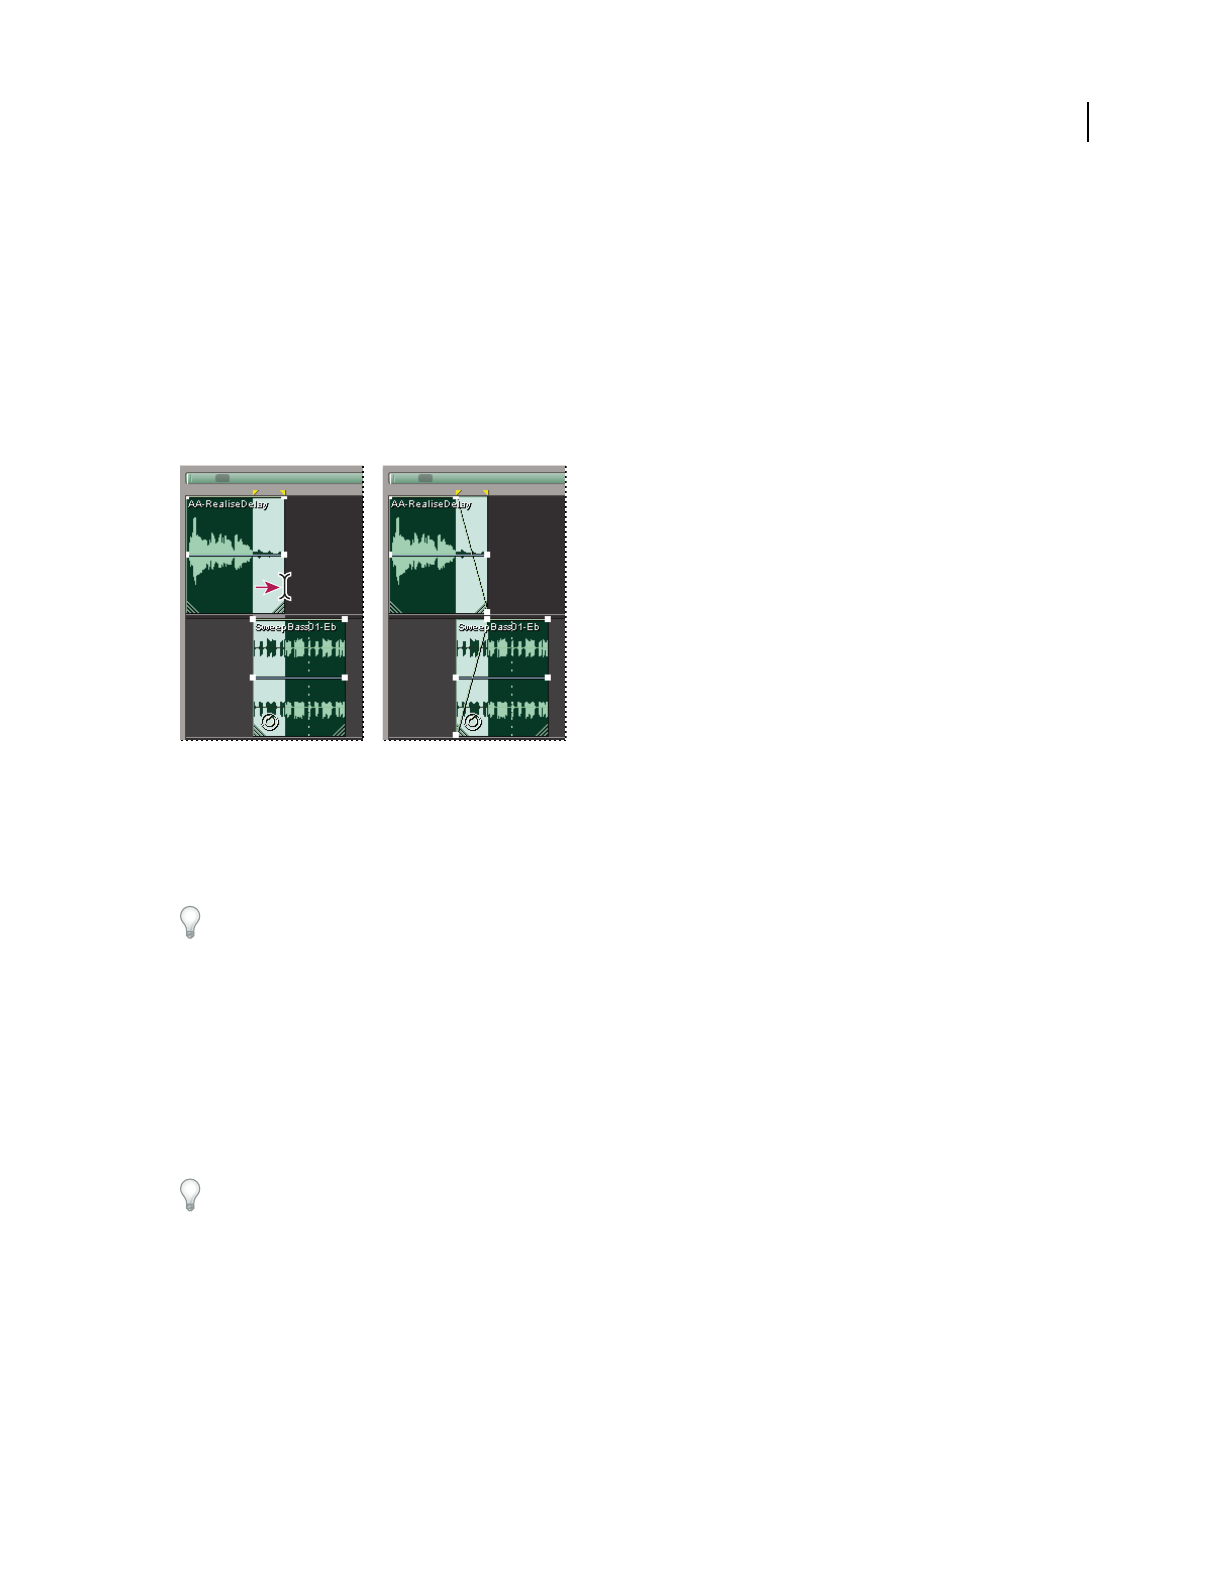
When you crossfade clips in separate tracks, you select a range that determines the transition region. To create a
smooth transition, select a range that starts before the end of the first clip and extends beyond the beginning of the
second clip.
Selecting range and two clips, and applying linear crossfade
1 Place two clips in separate tracks.
2 Position the clips so the end point of the first overlaps the start point of the second.
3 Across the overlapping area, select a range for the crossfade.
To precisely place the start and end points for the crossfade at clip start and end points, choose Edit > Snapping >
Snap To Clips.
4 Ctrl-click both clips.
5 Choose Clip > Fade Envelope Across Selection, and then choose one of the following:
Linear Produces an even crossfade.
Sinusoidal Produces a crossfade with a curved, sine-like slope.
Logarithmic In Fades in logarithmically, producing a steeper slope at the end of the fade.
Logarithmic Out Fades out logarithmically, producing a steeper slope at the beginning of the fade.
The resulting fade curves are volume envelopes, which you can edit. (See “Edit automation envelopes” on page 207.)
See also
“Select and move clips” on page 192
“Select ranges in Multitrack View” on page 181


