
Operation Manual

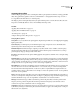
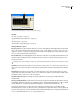
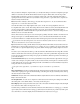
Table Of Contents
- Contents
- Chapter 1: Getting started
- Chapter 2: Digital audio fundamentals
- Chapter 3: Workflow and workspace
- Chapter 4: Setting up Adobe Audition
- Chapter 5: Importing, recording, and playing audio
- Chapter 6: Editing audio files
- Displaying audio in Edit View
- Selecting audio
- Copying, cutting, pasting, and deleting audio
- Visually fading and changing amplitude
- Working with markers
- Creating and deleting silence
- Inverting and reversing audio
- Generating audio
- Analyzing phase, frequency, and amplitude
- Converting sample types
- Recovery and undo
- Chapter 7: Applying effects
- Chapter 8: Effects reference
- Amplitude and compression effects
- Delay and echo effects
- Filter and equalizer effects
- Modulation effects
- Restoration effects
- Reverb effects
- Special effects
- Stereo imagery effects
- Changing stereo imagery
- Binaural Auto-Panner effect (Edit View only)
- Center Channel Extractor effect
- Channel Mixer effect
- Doppler Shifter effect (Edit View only)
- Graphic Panner effect
- Pan/Expand effect (Edit View only)
- Stereo Expander effect
- Stereo Field Rotate VST effect
- Stereo Field Rotate process effect (Edit View only)
- Time and pitch manipulation effects
- Multitrack effects
- Chapter 9: Mixing multitrack sessions
- Chapter 10: Composing with MIDI
- Chapter 11: Loops
- Chapter 12: Working with video
- Chapter 13: Creating surround sound
- Chapter 14: Saving and exporting
- Saving and exporting files
- Audio file formats
- About audio file formats
- 64-bit doubles (RAW) (.dbl)
- 8-bit signed (.sam)
- A/mu-Law Wave (.wav)
- ACM Waveform (.wav)
- Amiga IFF-8SVX (.iff, .svx)
- Apple AIFF (.aif, .snd)
- ASCII Text Data (.txt)
- Audition Loop (.cel)
- Creative Sound Blaster (.voc)
- Dialogic ADPCM (.vox)
- DiamondWare Digitized (.dwd)
- DVI/IMA ADPCM (.wav)
- Microsoft ADPCM (.wav)
- mp3PRO (.mp3)
- NeXT/Sun (.au, .snd)
- Ogg Vorbis (.ogg)
- SampleVision (.smp)
- Spectral Bitmap Image (.bmp)
- Windows Media Audio (.wma)
- Windows PCM (.wav, .bwf)
- PCM Raw Data (.pcm, .raw)
- Video file formats
- Adding file information
- Chapter 15: Automating tasks
- Chapter 16: Building audio CDs
- Chapter 17: Keyboard shortcuts
- Chapter 18: Digital audio glossary
- Index
ADOBE AUDITION 3.0
User Guide
144
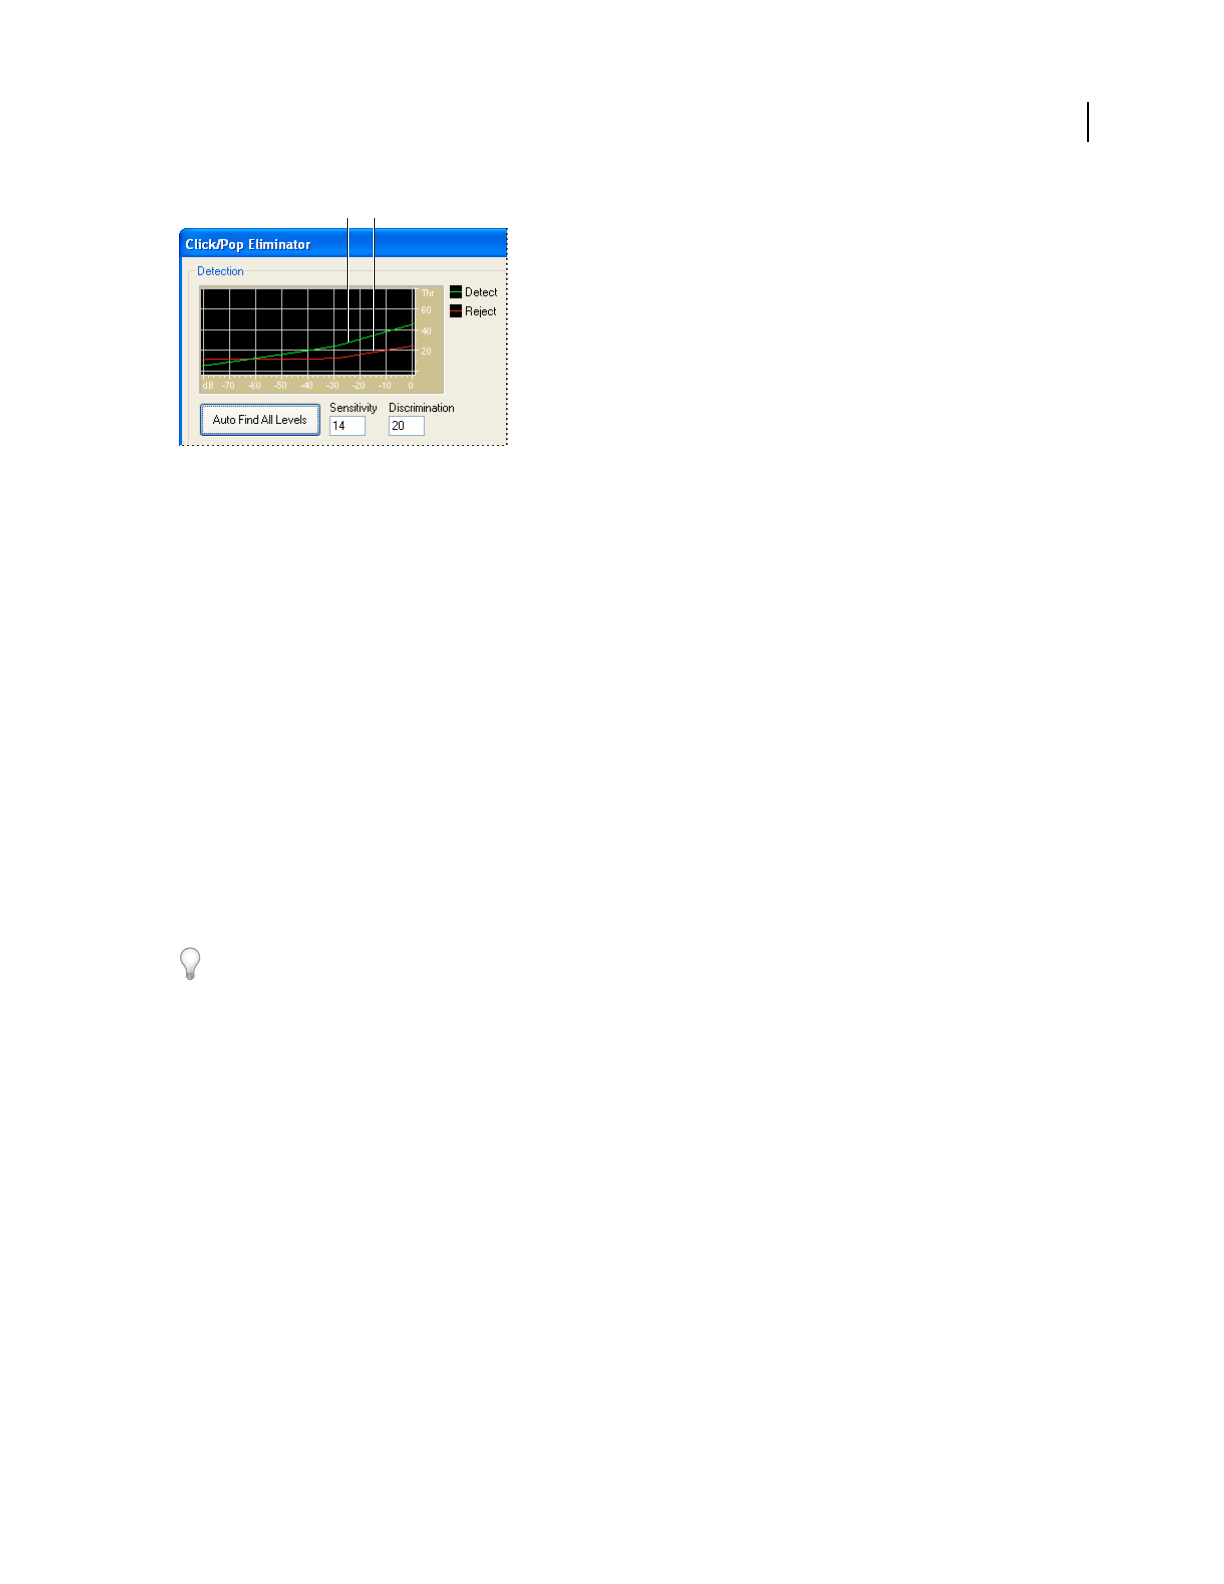
Click/Pop detection graph
A. Level of detected clicks and pops B. Level of rejected clicks and pops
See also
“About process effects” on page 104
“Apply individual effects in Edit View” on page 107
“Use effect presets” on page 104
“Control effects settings with graphs” on page 104
Click/Pop Eliminator options
Detection graph Shows the exact threshold levels to be used at each amplitude, with amplitude along the horizontal
ruler (x-axis) and threshold level along the vertical ruler (y-axis). Adobe Audition uses values on the curve to the
right (above -20 dB or so) when processing louder audio and values on the left when processing softer audio. Curves
are color-coded to indicate detection and rejection.
Auto Find All Levels Scans the highlighted area for clicks based on the values for Sensitivity and Discrimination, and
determines values for Threshold, Detect, and Reject. Five areas of audio are selected, starting at the quietest and
moving to the loudest.
To quickly remove clicks and pops, select a preset, and click Auto Find All Levels. Then fine-tune settings if necessary.
Sensitivity Determines the level of clicks to detect. Use a lower value, such as 10, to detect lots of subtle clicks, or a
value of 20 to detect a few louder clicks. (Detected levels with Auto Find All Levels are always higher than with this
option.)
Discrimination Determines how many clicks to fix. Enter high values to fix very few clicks and leave most of the
original audio intact. Enter lower values, such as 20 or 40, if the audio contains a moderate number of clicks. Enter
extremely low values, such as 2 or 4, to fix constant clicks.
Find Threshold Levels Only Automatically sets the Max (Maximum), Avg (Average), and Min (Minimum)
Threshold levels.
Max, Avg, and Min Thresholds Determine the unique detection and rejection thresholds for the maximum, average,
and minimum amplitudes of the audio. For example, if audio has a maximum RMS amplitude of -10 dB, you should
set Max Threshold to -10 dB. If the minimum RMS amplitude is -55 dB, then set Min Threshold to -55.
Set the threshold levels before you adjust the corresponding Detect and Reject values. (Set the Max and Min
Thresholdlevelsfirst,becauseoncethey’reinplace,youshouldn’tneedtoadjustthemmuch.)SettheAvgThreshold
level to about three quarters of the way between the Max and Min Threshold levels. For example, if Max Threshold
is set to 30 and Min Threshold is set to 10, set Avg Threshold to 25.
AB