
User Manual
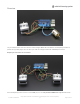
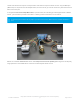
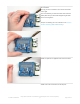
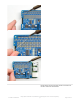
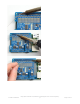
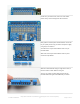
Table Of Contents
- Guide Contents
- Overview
- Assembly
- Solder on Headers and Terminal Block
- Powering Motors
- Voltage requirements:
- Current requirements:
- Power it up
- Installing Software
- Enable I2C
- Python Installation of MotorKit Library
- Using DC Motors
- Connecting DC Motors
- Controlling DC Motors
- Full Example Code
- Using Stepper Motors
- Connecting Stepper Motors
- Controlling Stepper Motors
- Stepping
- Full Example Code
- Python Docs
- Stacking HATs
- Addressing the HATs
- Stacking in Code
- Downloads
- Files
- Schematic
- Fabrication Print
And Solder!
Heat up your iron and solder in one header connection
on the right.
Once it is soldered, put down the solder and reheat the
solder point with your iron while straightening the HAT
so it isn't leaning down
(For tips on soldering, be sure to check out our Guide to
Excellent Soldering
(https://adafru.it/aTk)
).
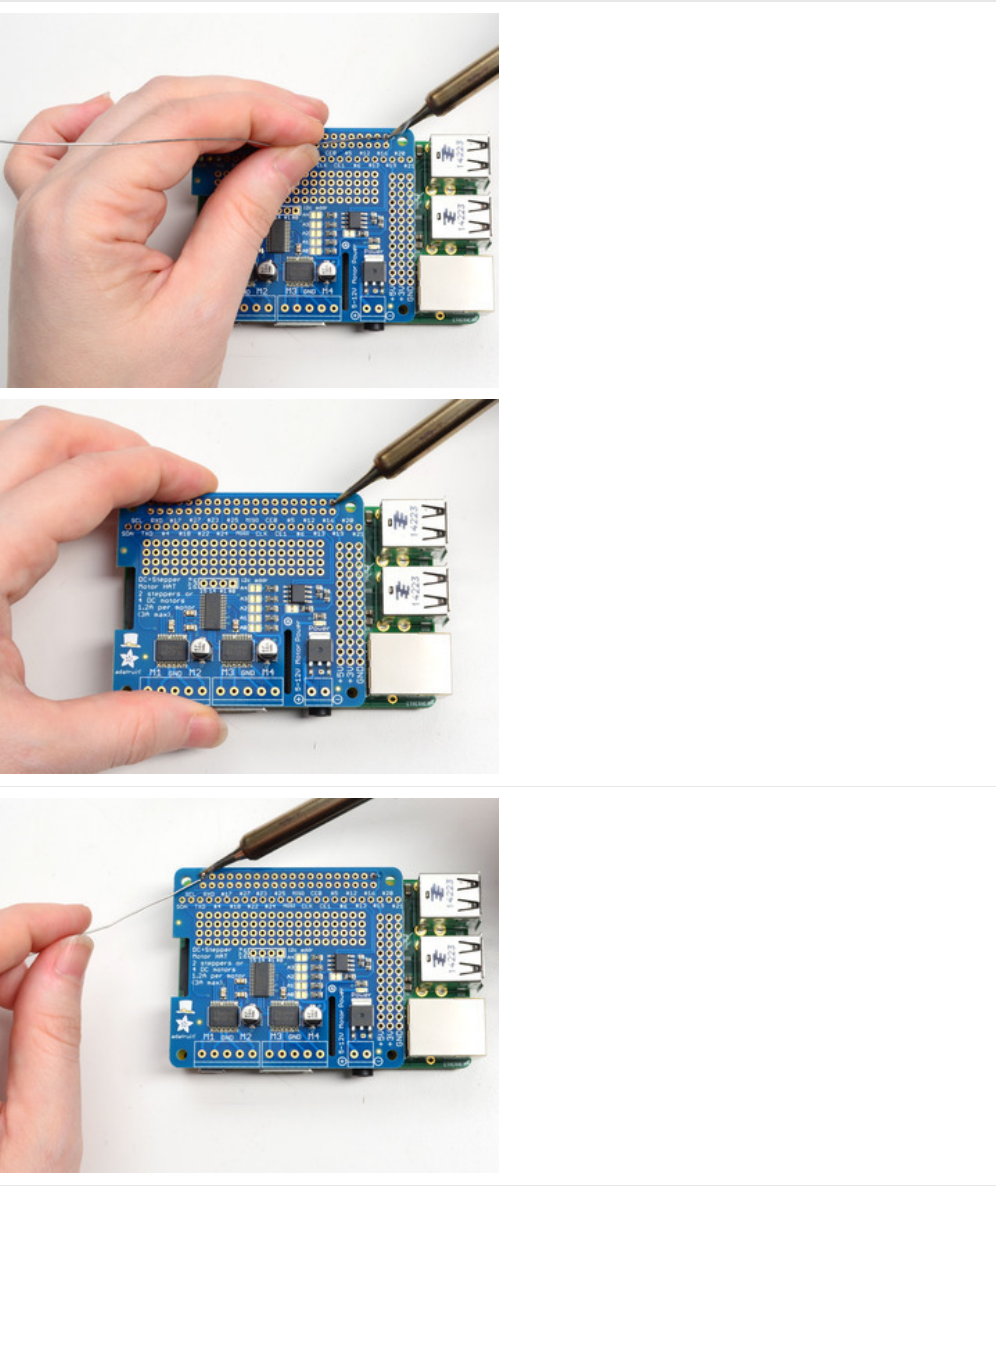
Solder one point on the opposite side of the connector
Solder each of the connections for the top row
© Adafruit Industries
https://learn.adafruit.com/adafruit-dc-and-stepper-motor-hat-for-raspberry-
pi
Page 8 of 31