
User Manual

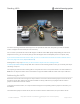

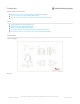


Table Of Contents
- Guide Contents
- Overview
- Assembly
- Solder on Headers and Terminal Block
- Powering Motors
- Voltage requirements:
- Current requirements:
- Power it up
- Installing Software
- Enable I2C
- Python Installation of MotorKit Library
- Using DC Motors
- Connecting DC Motors
- Controlling DC Motors
- Full Example Code
- Using Stepper Motors
- Connecting Stepper Motors
- Controlling Stepper Motors
- Stepping
- Full Example Code
- Python Docs
- Stacking HATs
- Addressing the HATs
- Stacking in Code
- Downloads
- Files
- Schematic
- Fabrication Print
Stacking HATs
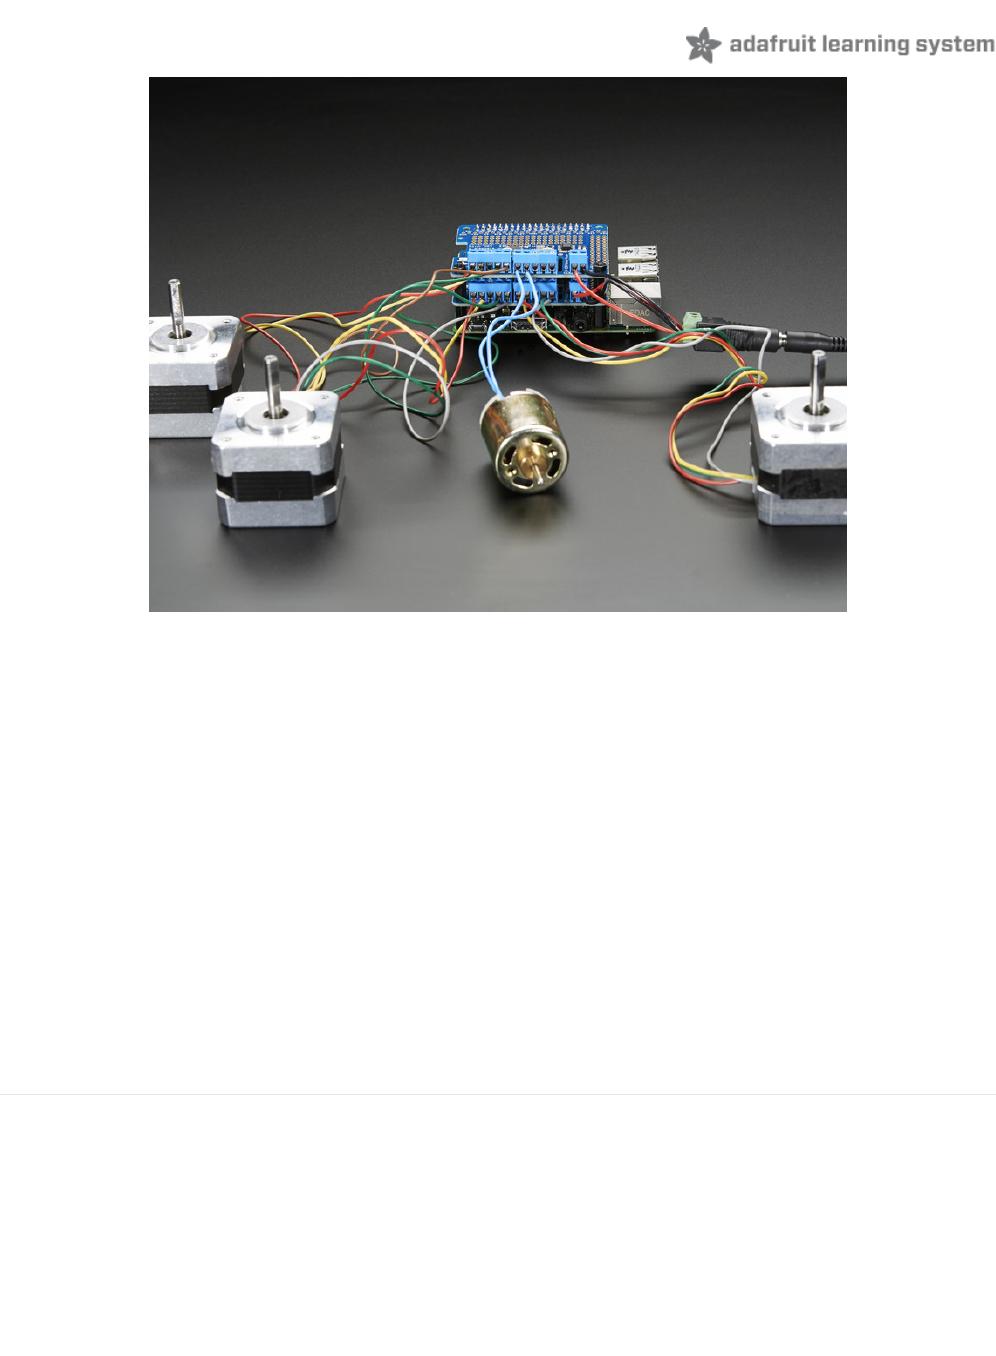
One of the cool things about this HAT design is that it is possible to stack them. Every HAT you stack can control
another 2 steppers or 4 DC motors (or a mix of the two)
You can stack up to 32 HAT for a total of 64 steppers or 128 DC motors! Most people will probably just stack two or
maybe three but hey, you never know. (PS if you drive 64 steppers from one Raspberry Pi send us a photo, OK?)
If you need to control a bunch of servos as well, you can use our 16-channel servo HAT and stack it with this HAT to
add a crazy large # of servos. (https://adafru.it/enA)
Stacking HATs is very easy. Each HAT you want to stack on top of must have stacking headers
installed. (http://adafru.it/2223) The top HAT does not have to have stacking headers unless you eventually want to put
something on top of it.
The only thing to watch for when stacking HATs is every HAT must have a unique I2C address. The default address is
0x60. You can adjust the address of the motor HATs to range from 0x60 to 0x80 for a total of 32 unique addresses.
Addressing the HATs
Each board in the stack must be assigned a unique address. This is done with the address jumpers on the left side of
the board. The I2C base address for each board is 0x60. The binary address that you program with the address
jumpers is added to the base I2C address.
To program the address offset, use a drop of solder to bridge the corresponding address jumper for each binary '1' in
the address.
The bottom-most jumper is address bit #0, then the one above of that is address bit #1, etc up to address bit #5
© Adafruit Industries
https://learn.adafruit.com/adafruit-dc-and-stepper-motor-hat-for-raspberry-
pi
Page 25 of 31