
User Manual
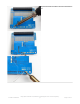

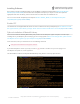
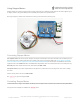
Table Of Contents
- Guide Contents
- Overview
- Assembly
- Solder on Headers and Terminal Block
- Powering Motors
- Voltage requirements:
- Current requirements:
- Power it up
- Installing Software
- Enable I2C
- Python Installation of MotorKit Library
- Using DC Motors
- Connecting DC Motors
- Controlling DC Motors
- Full Example Code
- Using Stepper Motors
- Connecting Stepper Motors
- Controlling Stepper Motors
- Stepping
- Full Example Code
- Python Docs
- Stacking HATs
- Addressing the HATs
- Stacking in Code
- Downloads
- Files
- Schematic
- Fabrication Print
Similar DC motors, stepper motors are available as stepper1 and stepper2 . stepper1 is made up of the M1 and M2
terminals, and stepper2 is made up of the M3 and M4 terminals.
We'll use stepper1 in our example.
The most basic function (and the default) is to do one single coil step.
There are a number of optional features available for the onestep() function. Let's take a look!
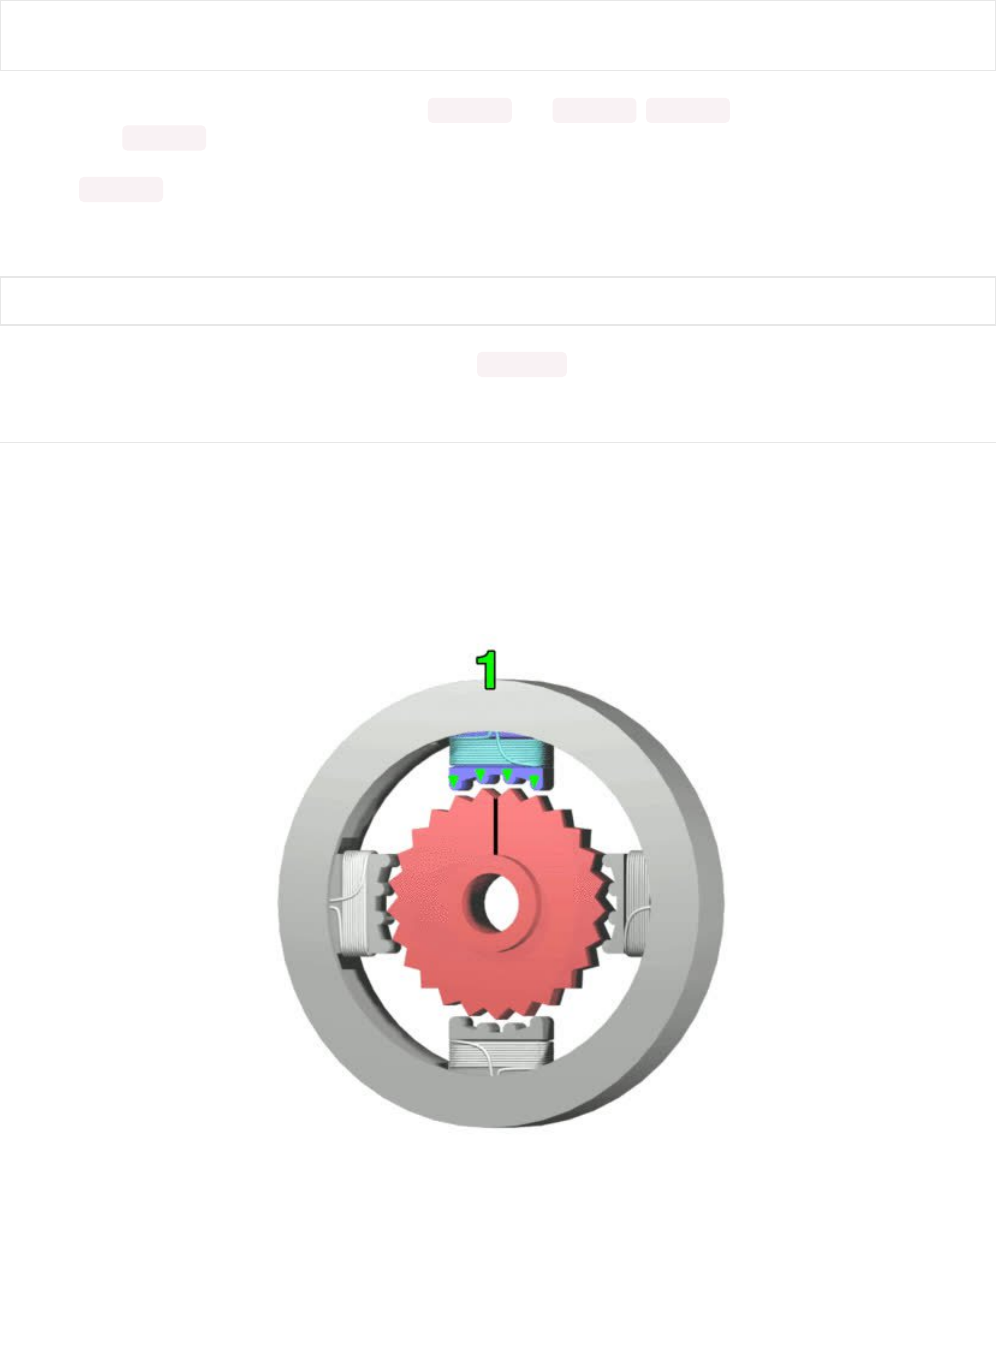
Stepping
Stepper motors differ from DC motors in that the controller (in this case, Raspberry Pi) must tick each of the 4 coils in
order to make the motor move. Each two 'ticks' is a step. By alternating the coils, the stepper motor will spin all the way
around. If the coils are fired in the opposite order, it will spin the other way around.
If the python code or Pi crashes or stops responding, the motor will no longer move. Compare this to a DC motor which
has a constant voltage across a single coil for movement.
"StepperMotor" by Wapcaplet; Teravolt. (https://adafru.it/enC)
There are four essential types of steps you can use with your Motor HAT. All four kinds will work with any unipolar or
bipolar stepper motor
1. Single Steps - this is the simplest type of stepping, and uses the least power. It uses a single coil to 'hold' the
from adafruit_motorkit import MotorKit
kit = MotorKit()
kit.stepper1.onestep()
© Adafruit Industries
https://learn.adafruit.com/adafruit-dc-and-stepper-motor-hat-for-raspberry-
pi
Page 21 of 31