
User Manual
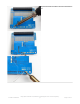

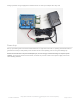

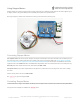
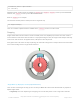
Table Of Contents
- Guide Contents
- Overview
- Assembly
- Solder on Headers and Terminal Block
- Powering Motors
- Voltage requirements:
- Current requirements:
- Power it up
- Installing Software
- Enable I2C
- Python Installation of MotorKit Library
- Using DC Motors
- Connecting DC Motors
- Controlling DC Motors
- Full Example Code
- Using Stepper Motors
- Connecting Stepper Motors
- Controlling Stepper Motors
- Stepping
- Full Example Code
- Python Docs
- Stacking HATs
- Addressing the HATs
- Stacking in Code
- Downloads
- Files
- Schematic
- Fabrication Print
Using DC Motors
DC motors are used for all sort of robotic projects.
The Motor HAT can drive up to 4 DC motors bi-directionally. That means they can be driven forwards and backwards.
The speed can also be varied at 0.5% increments using the high-quality built in PWM. This means the speed is very
smooth and won't vary!
Note that the H-bridge chip is not meant for driving continuous loads over 1.2A or motors that peak over 3A, so this is
for small motors. Check the datasheet for information about the motor to verify its OK!
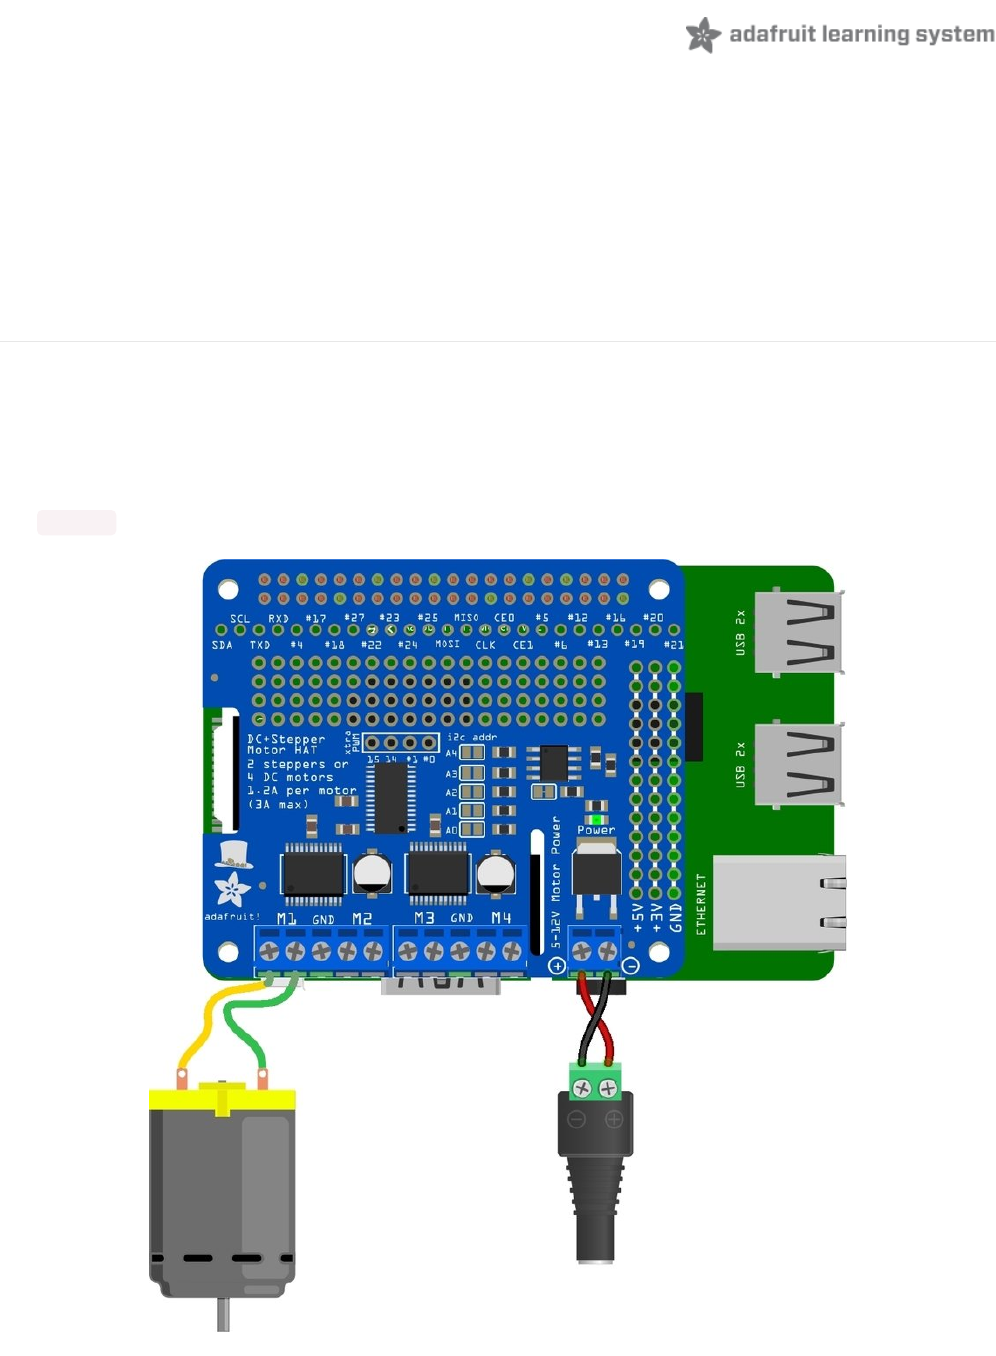
Connecting DC Motors
To connect a motor, simply solder two wires to the terminals on the motor (if they're not already there!) and then
connect them to either the M1, M2, M3, or M4 terminal blocks on the Pi hat. If your motor is running 'backwards' from
the way you expect, swap the wires in the terminal block
For this demo, please connect it to M1.
Run python3 to get to the Python REPL.
© Adafruit Industries
https://learn.adafruit.com/adafruit-dc-and-stepper-motor-hat-for-raspberry-
pi
Page 17 of 31