
User Manual
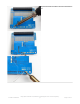
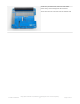

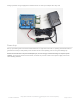
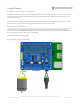

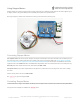
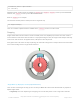
Table Of Contents
- Guide Contents
- Overview
- Assembly
- Solder on Headers and Terminal Block
- Powering Motors
- Voltage requirements:
- Current requirements:
- Power it up
- Installing Software
- Enable I2C
- Python Installation of MotorKit Library
- Using DC Motors
- Connecting DC Motors
- Controlling DC Motors
- Full Example Code
- Using Stepper Motors
- Connecting Stepper Motors
- Controlling Stepper Motors
- Stepping
- Full Example Code
- Python Docs
- Stacking HATs
- Addressing the HATs
- Stacking in Code
- Downloads
- Files
- Schematic
- Fabrication Print
having a powerful enough supply!
Even small DC motors can draw up to 3 Amps when they stall.
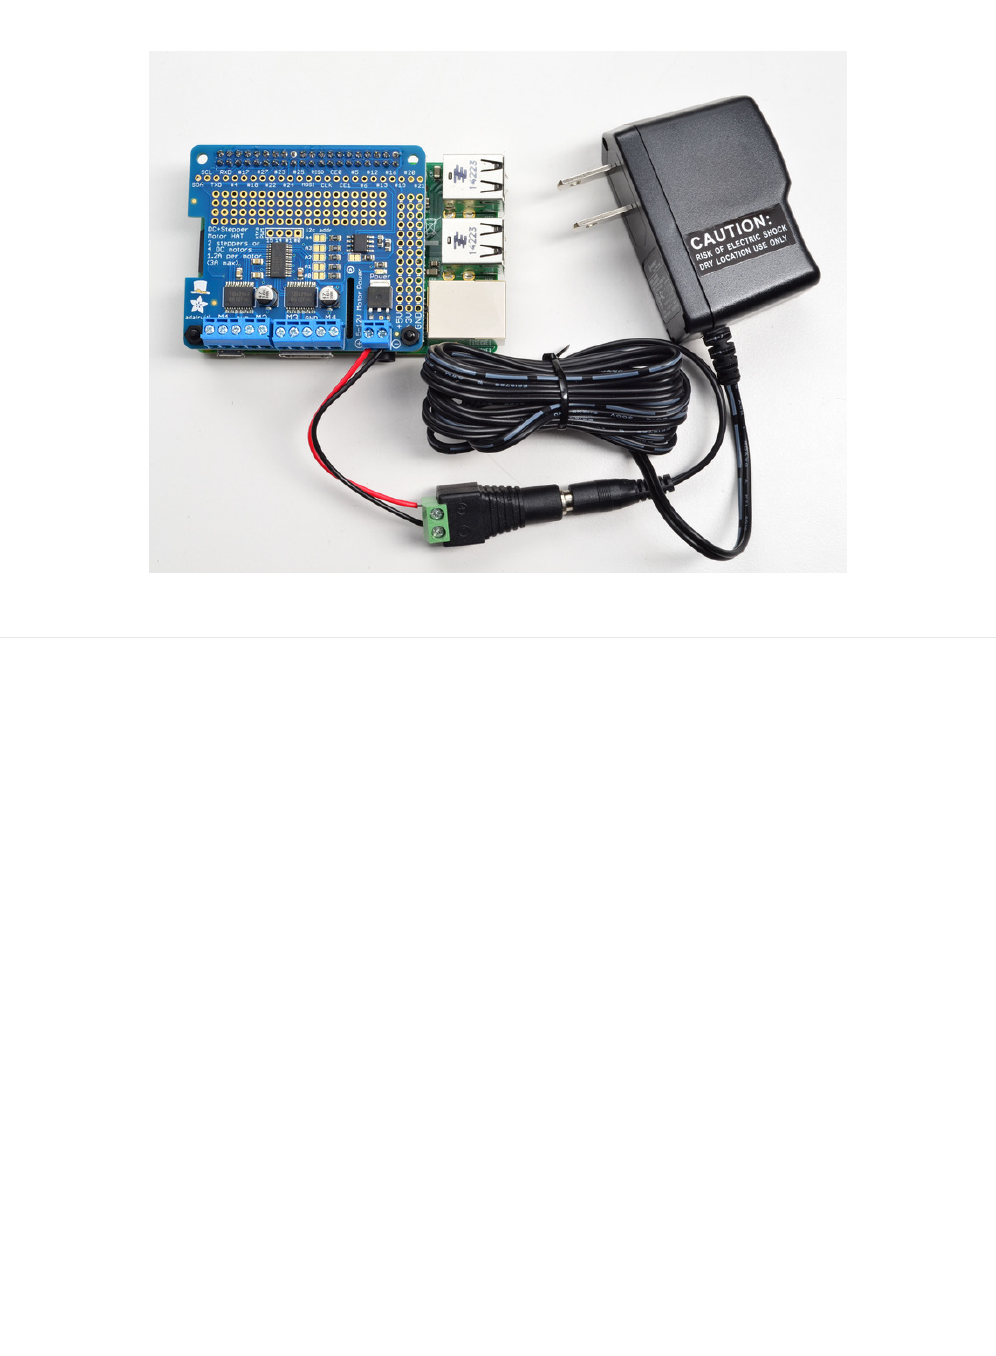
Power it up
Wire up your battery pack to the Power terminal block on the right side of the HAT. It is polarity protected but still its a
good idea to check your wire polarity. Once the HAT has the correct polarity, you'll see the green LED light up
Please note the HAT does not power the Raspberry Pi, and we strongly recommend having two seperate power
supplies - one for the Pi and one for the motors, as motors can put a lot of noise onto a power supply and it could
cause stability problems!
© Adafruit Industries
https://learn.adafruit.com/adafruit-dc-and-stepper-motor-hat-for-raspberry-
pi
Page 15 of 31