
User Manual
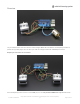
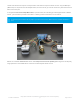
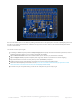
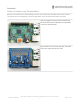
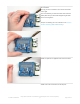
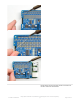
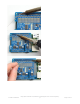
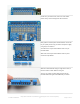
Table Of Contents
- Guide Contents
- Overview
- Assembly
- Solder on Headers and Terminal Block
- Powering Motors
- Voltage requirements:
- Current requirements:
- Power it up
- Installing Software
- Enable I2C
- Python Installation of MotorKit Library
- Using DC Motors
- Connecting DC Motors
- Controlling DC Motors
- Full Example Code
- Using Stepper Motors
- Connecting Stepper Motors
- Controlling Stepper Motors
- Stepping
- Full Example Code
- Python Docs
- Stacking HATs
- Addressing the HATs
- Stacking in Code
- Downloads
- Files
- Schematic
- Fabrication Print
Check over your work so far, make sure each solder
point is shiny, and isn't bridged or dull or cracked
Now grab the 3.5mm-spaced terminal blocks. These will
let you quickly connect up your motor and power supply
using only a screw driver
You will have 3 x 2-pin terminal blocks and 2 x 3-pin
terminal blocks
Slide each of the 3-pin terminal blocks into a 2-pin to
create two 5-pin blocks
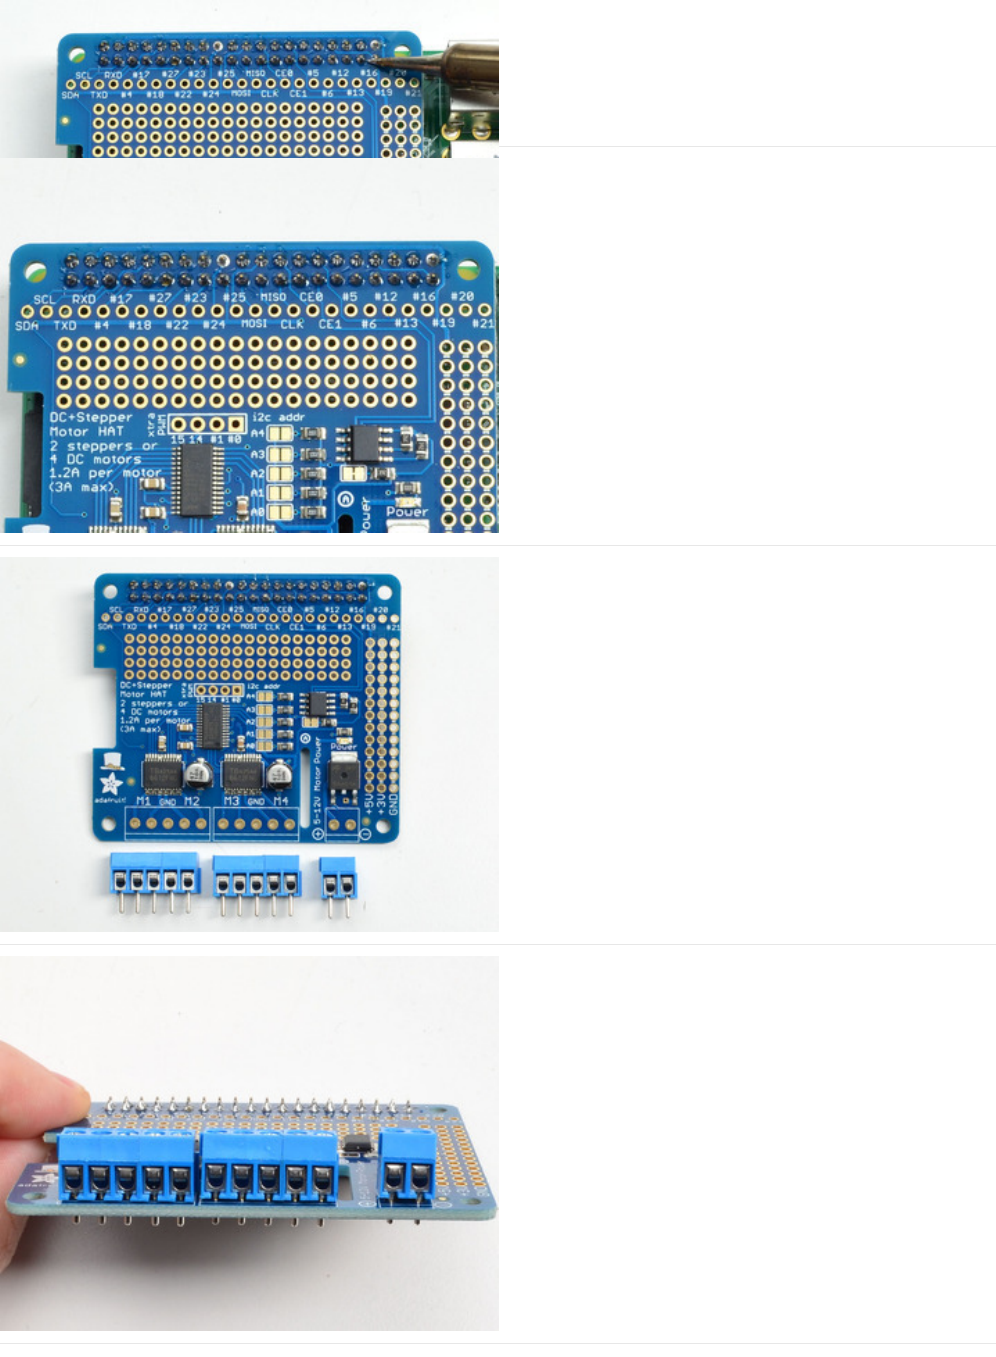
Slide the terminal blocks along the edge of the HAT, so
that the 'mouth' of each block is facing out.
You can use scotch or other plain tape to keep the
terminal blocks flat against the PCB while you solder
© Adafruit Industries
https://learn.adafruit.com/adafruit-dc-and-stepper-motor-hat-for-raspberry-
pi
Page 11 of 31