
User`s guide


Table Of Contents
Ex 01”
T
e
rtcut
ample 6: Quick perform settings in the “PROE20
his example requires initial setup in the three parts, respectively they are computer settings, PROE software settings and Oscar mouse
ditor software settings.
Step 1: Computer Settings
Open "My Computer", on the hard drive D create a new folder "D:\WORK" >>Press "Right Button" of the mouse on "PROE" sho
s
icon >> select "Properties"
Step 2: PROE Software Settings:
Open "PROE" software; create a new file under the path that you appointed. Then enter "PROE". Click "Function-- Mapkeys--New--Inpu
t
the name "D" -- Record -- Feature -- Create-----Surface-------Advanced------Boundaries------Done------Done------Stop-----Confirm-----Sa
(The system will produce a config.pro file automatically)------OK.
ve
A shortcut is established and you can duplicate the same process to
organize as many shortcuts as you like in the “PROE”.
Step 3: Oscar Mouse Editor Software Settings
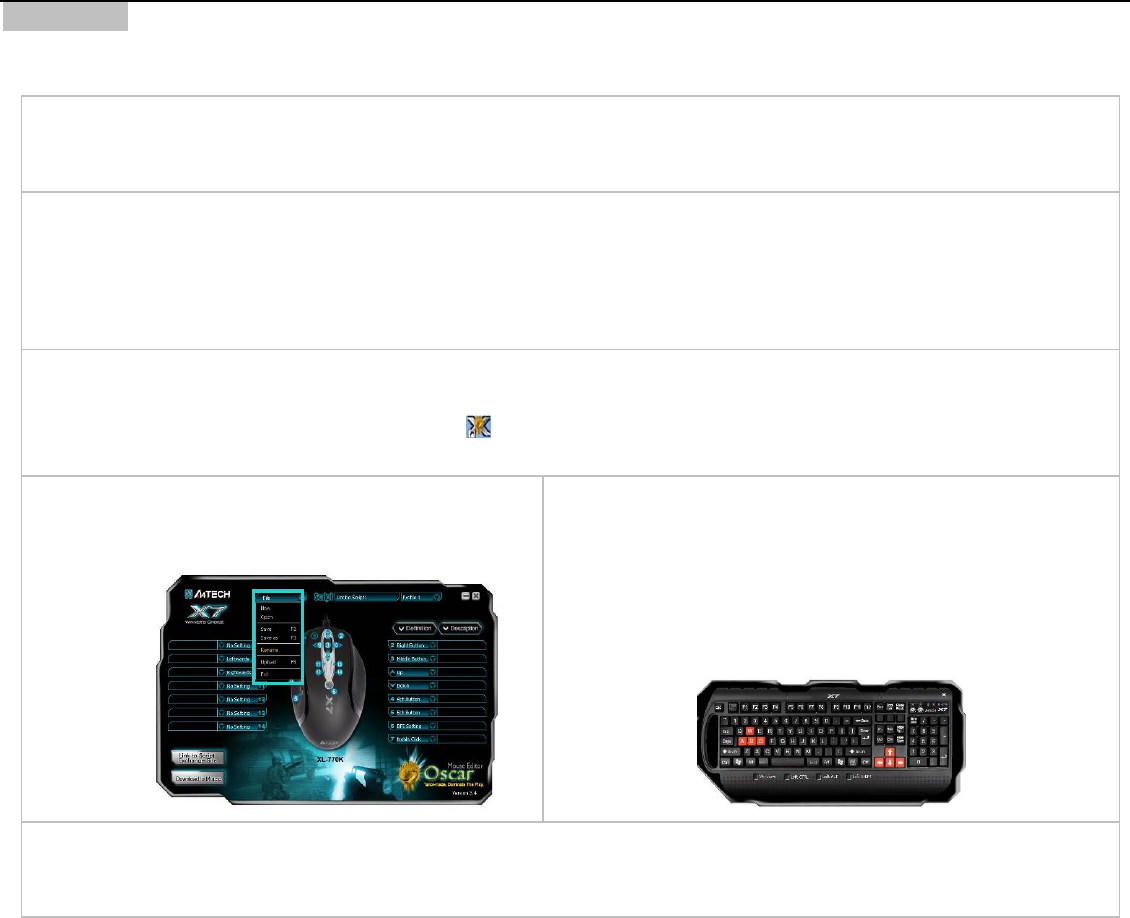
A: Open "Oscar Mouse Editor Software", Please follow the steps:
Just double-Cli ”on the deck on the “Oscar Editor” icon“ sktop.
ROGRAM >> Select Oscar Editor. Now the Oscar “Main Menu” will pop up as shown on the right. OR Go to START >> P
B: From the “Oscar Main Menu”, click the “File”, you’ll see
the “Pull-down Menu”
C: Input the "PROE2001" as script file name >>Select a function key
.
"
option (for instance the 4
th
Button) >>Select “Keyboard” from
“Task Pull-down Menu”, then you’ll see the below image. >>Click >>Select “New”>> "rename
"D" key on below keyboard image. >>Click "File" from “Oscar Main
Menu” >>Click “Save as” to save settings>> Click the “Download
to Mouse” to store script file to mouse on-board memory.
After you have finished above settings, a “specific-PROE-purposed” mouse is ready to serve. For instance, to accomplish a PROE solid
surface may require 7 steps and now with one click on the designated 4
th
button of the mouse, all the tasks are accomplished
automatically and it saves all the processes usually require lots of efforts and time.